
This growth chart was a fun project. It brought back all those memories from childhood that are sweet and beautiful. Memories of Dad that someday I alone will remember and cherish. Today, memories are caught for all time in the touch of a finger on a screen, but the memories in our minds: those are filled with an array of emotions and smells, events reenacted that dance around behind our eyes.
This is what I desire to leave for my children: sweet memories of childhood, innocent and beautiful, filled with the smells of homemade bread, grandpapa’s laughter and granny’s careful love and direction. Of Auntie’s prostrated on the floor playing with Thomas the Train and cousins playing in the mud and puddles.
These are the memories that make life.
And capturing the relentless growth of my children seems to be one way to stop the madness of them growing so fast! As if, in marking that small, black dash, time stands still, just for a moment. “My child, you were here, your growth stopped at that line, for that moment and I will cherish it forever.” These new memories now twirl around and intermingle with the memories of those moments when MY dash and date on a stick stopped a small sliver of time.
So, this is how I created my time-stopping, fun growth chart!
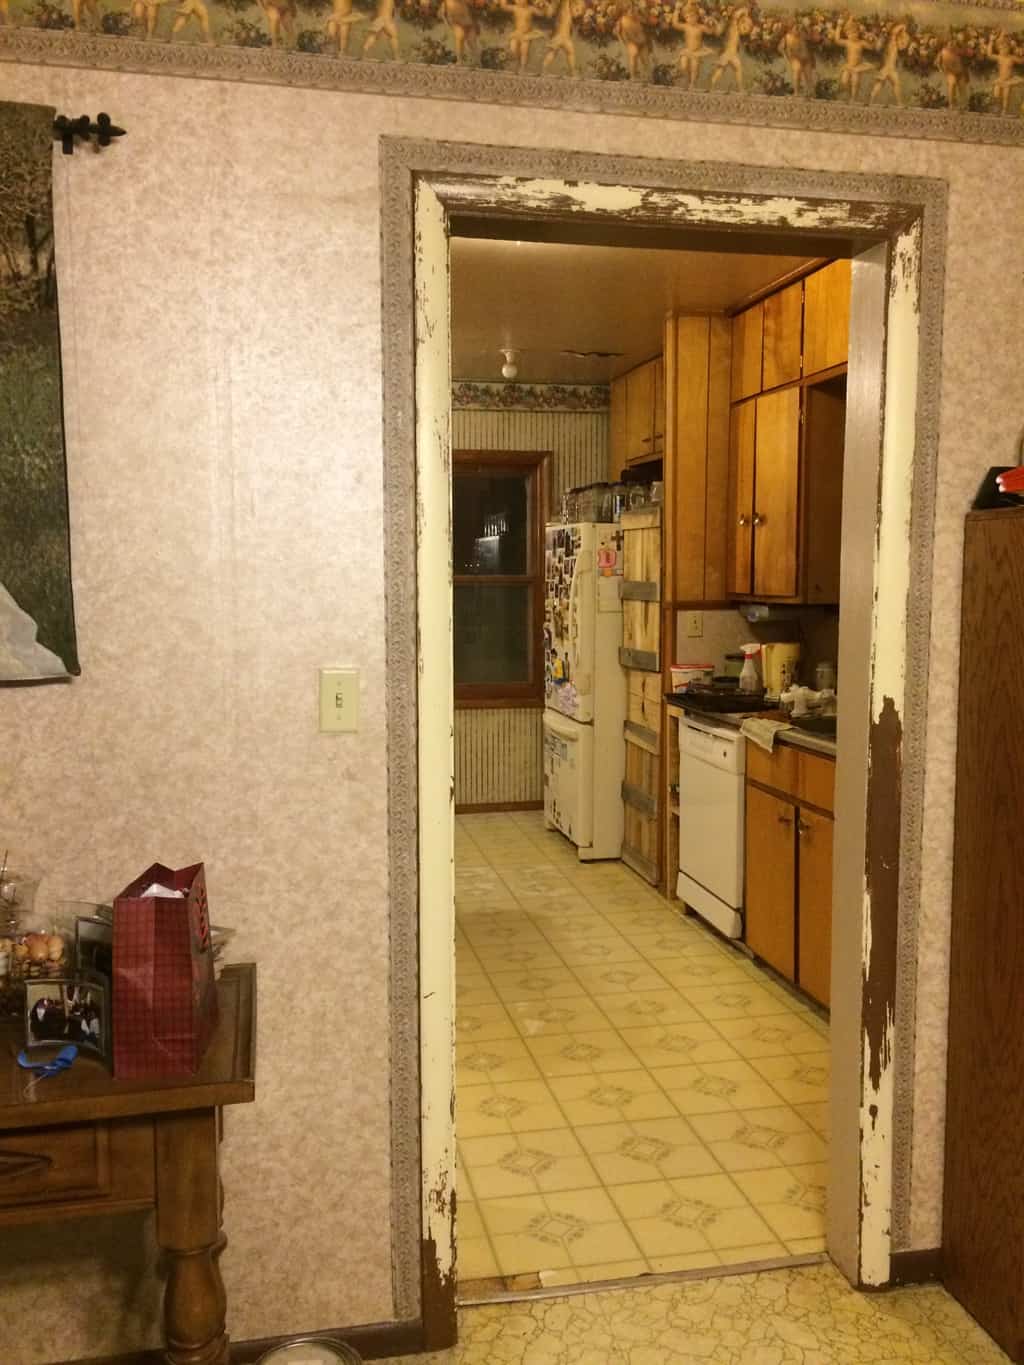
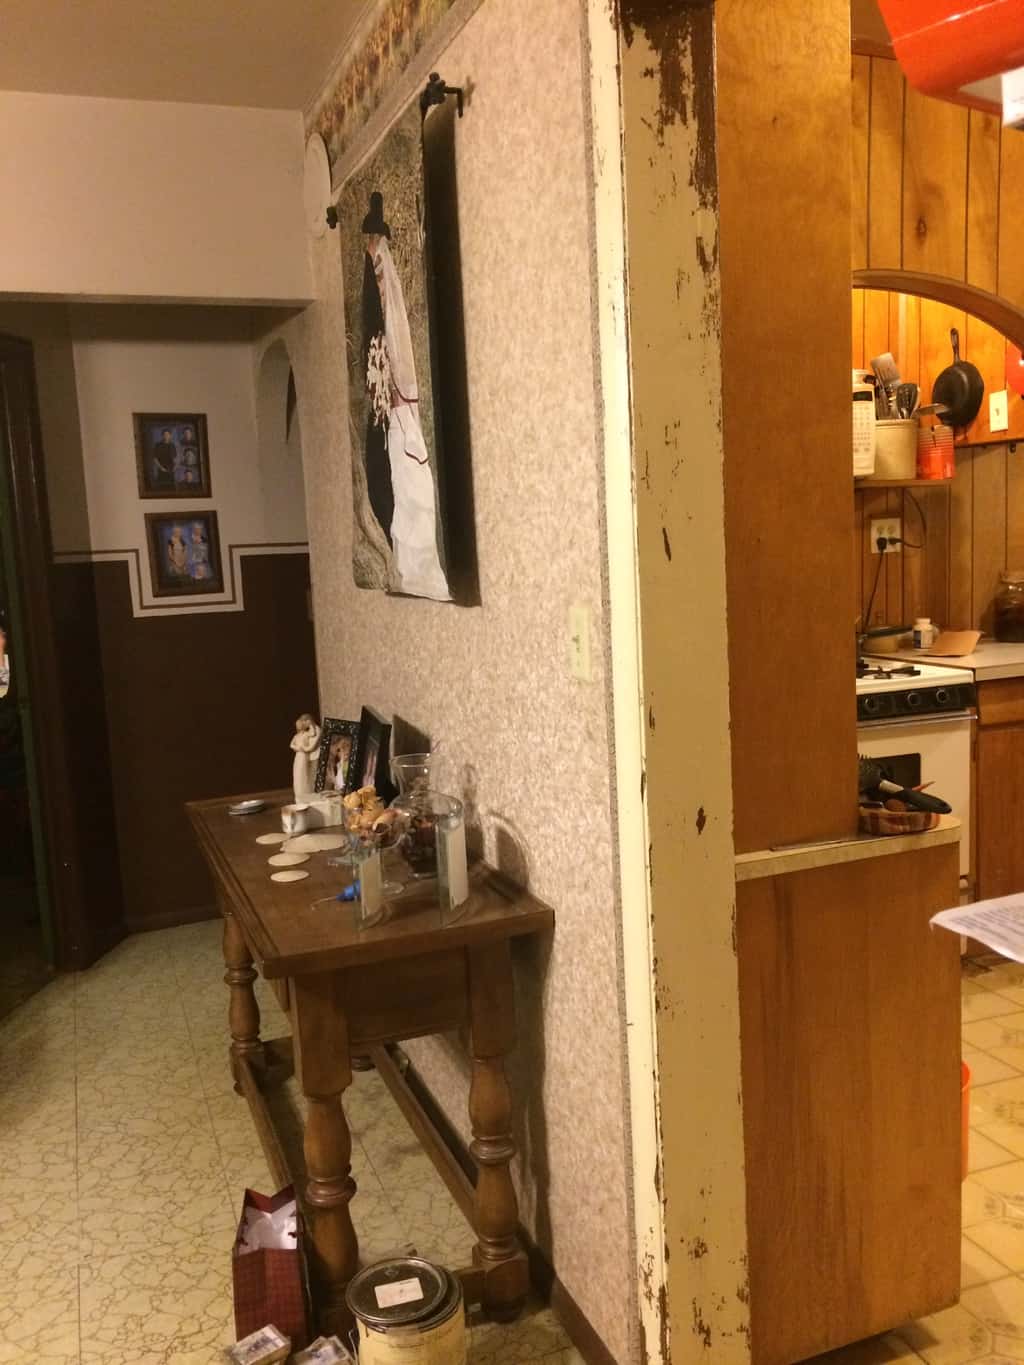
I had to decide first off where I was going to put it. I had a doorway between our dining room and kitchen that needed a bit of work. The paint had peeled and I needed to sand it and repaint it.
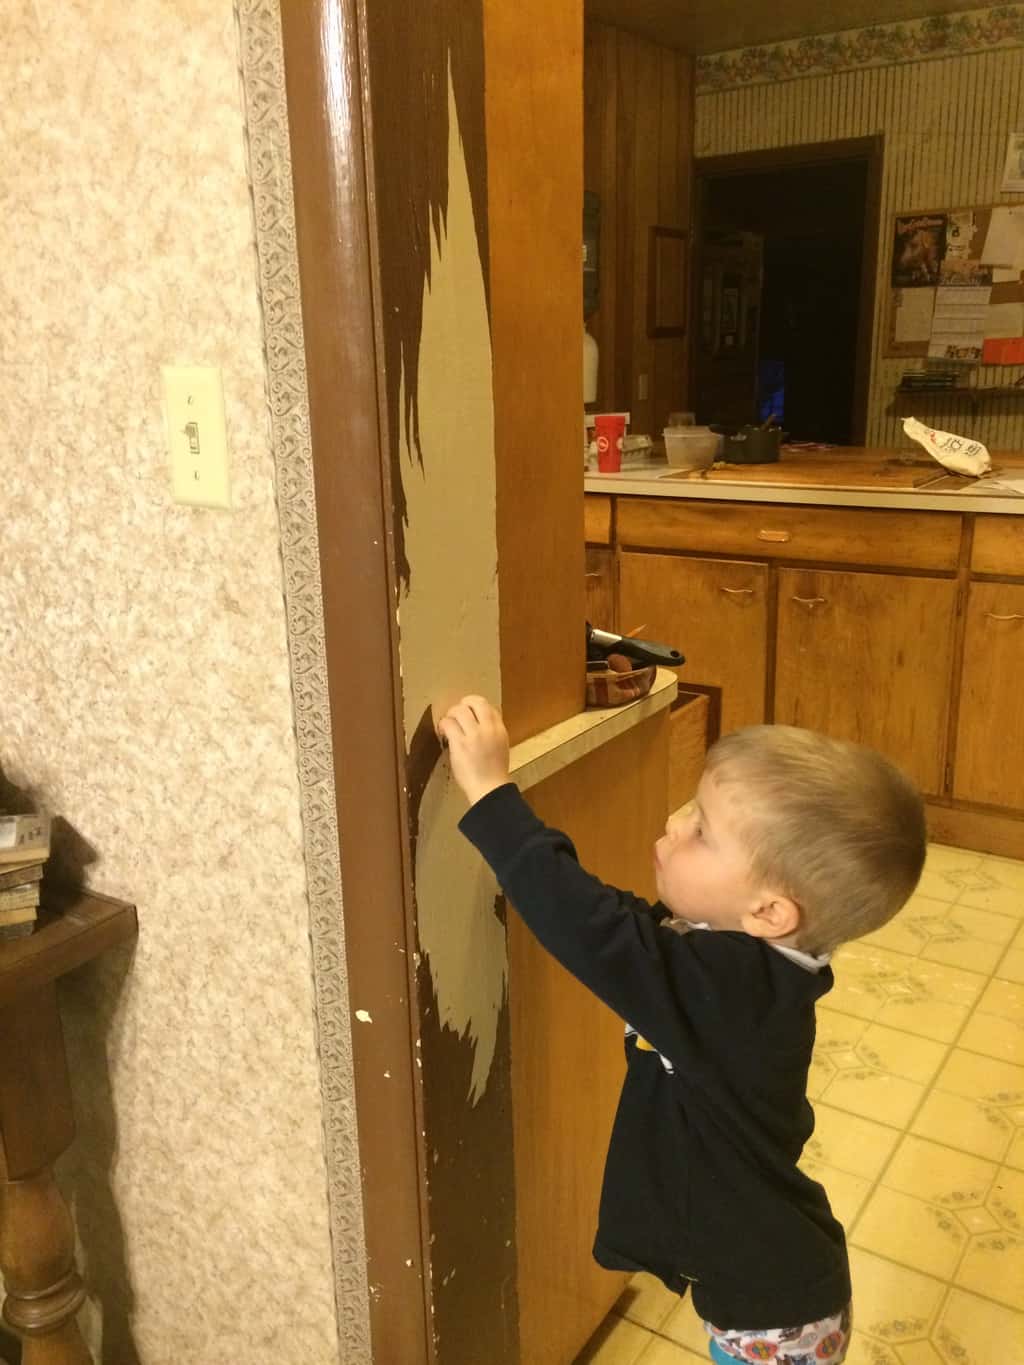
But I had a good helper!
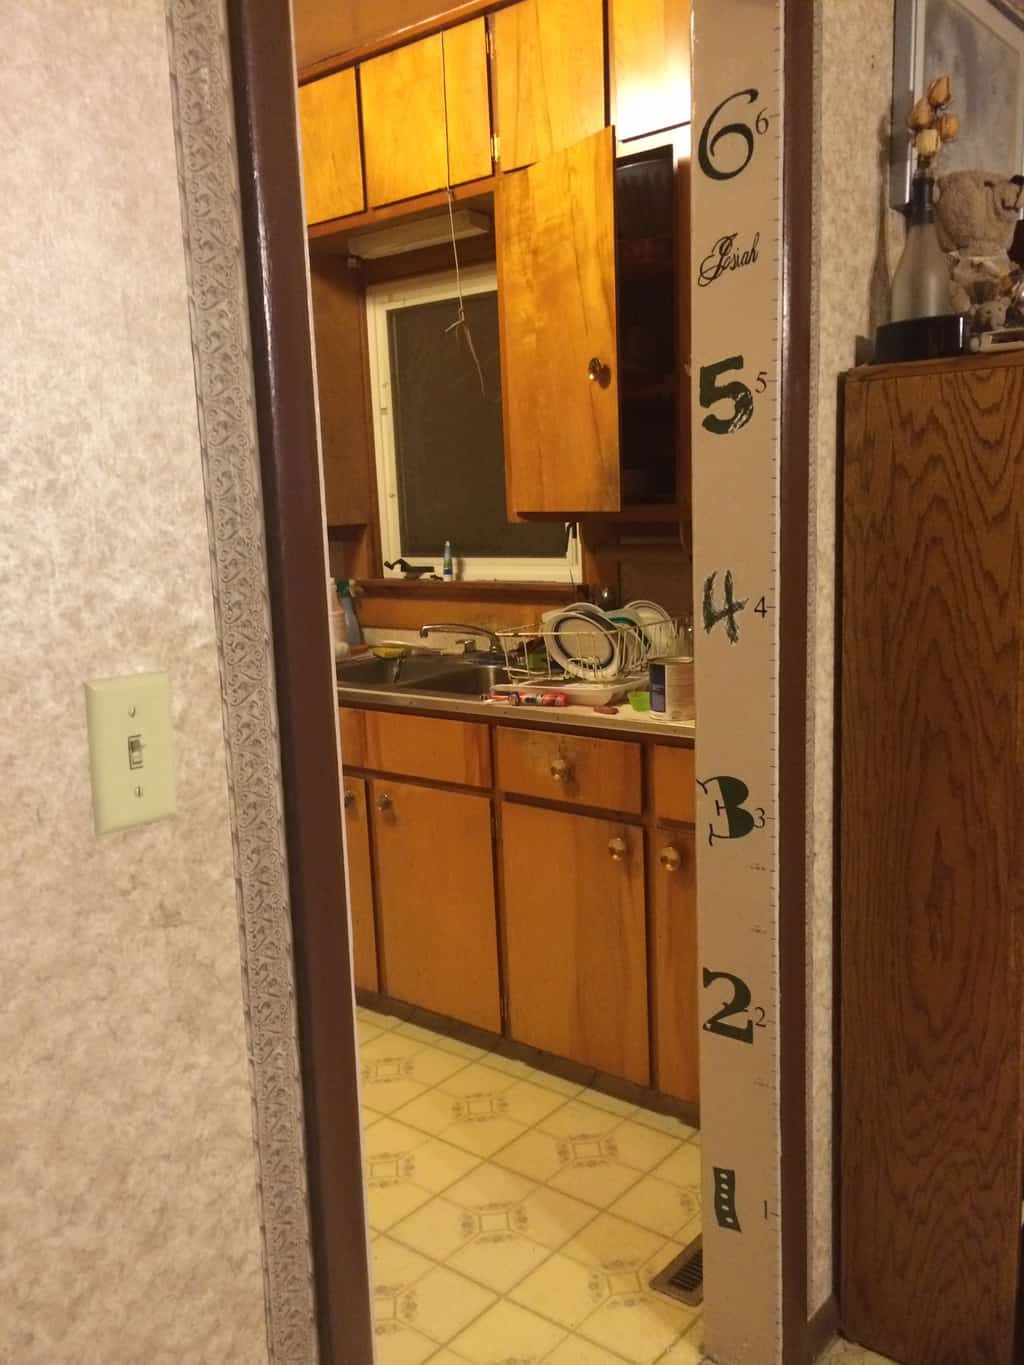
After sanding the door frame, I repainted the trim and was ready to add the numbers. I found fonts I liked from www.urbanfonts.com
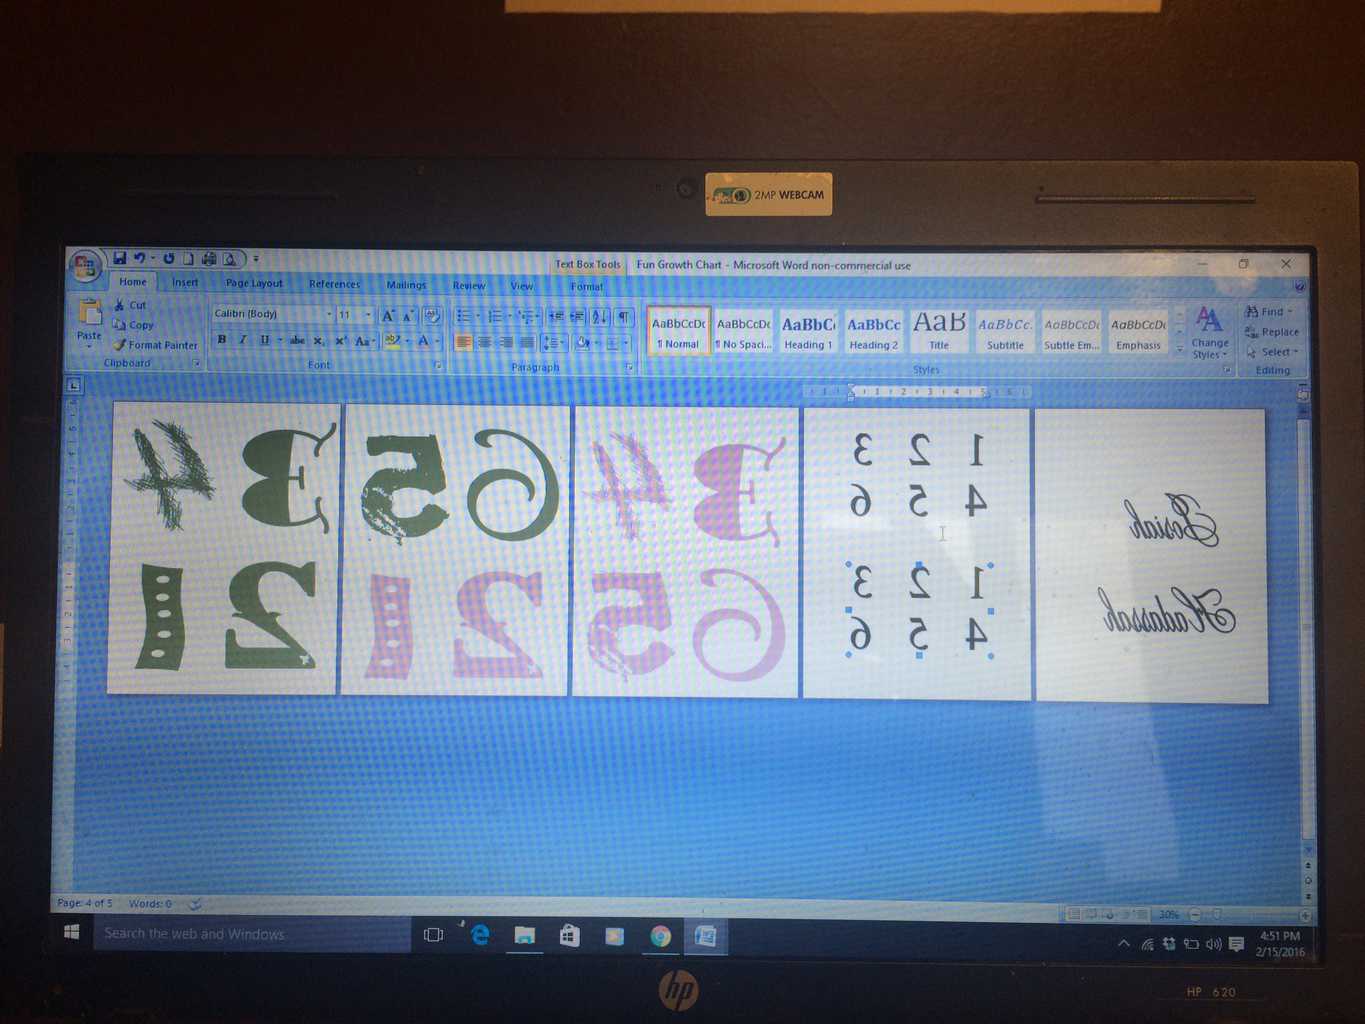
In Microsoft Word I added the numbers using WordArt and reversed them by following these steps:
- Right-click the text box and choose Format Shape.
- Choose 3-D Rotation in the left pane.
- Change the X setting to 180.
- Click OK, and Word flips the text in the text box, producing a mirror image. You can create an upside-down mirror image by changing the Y setting to 180.
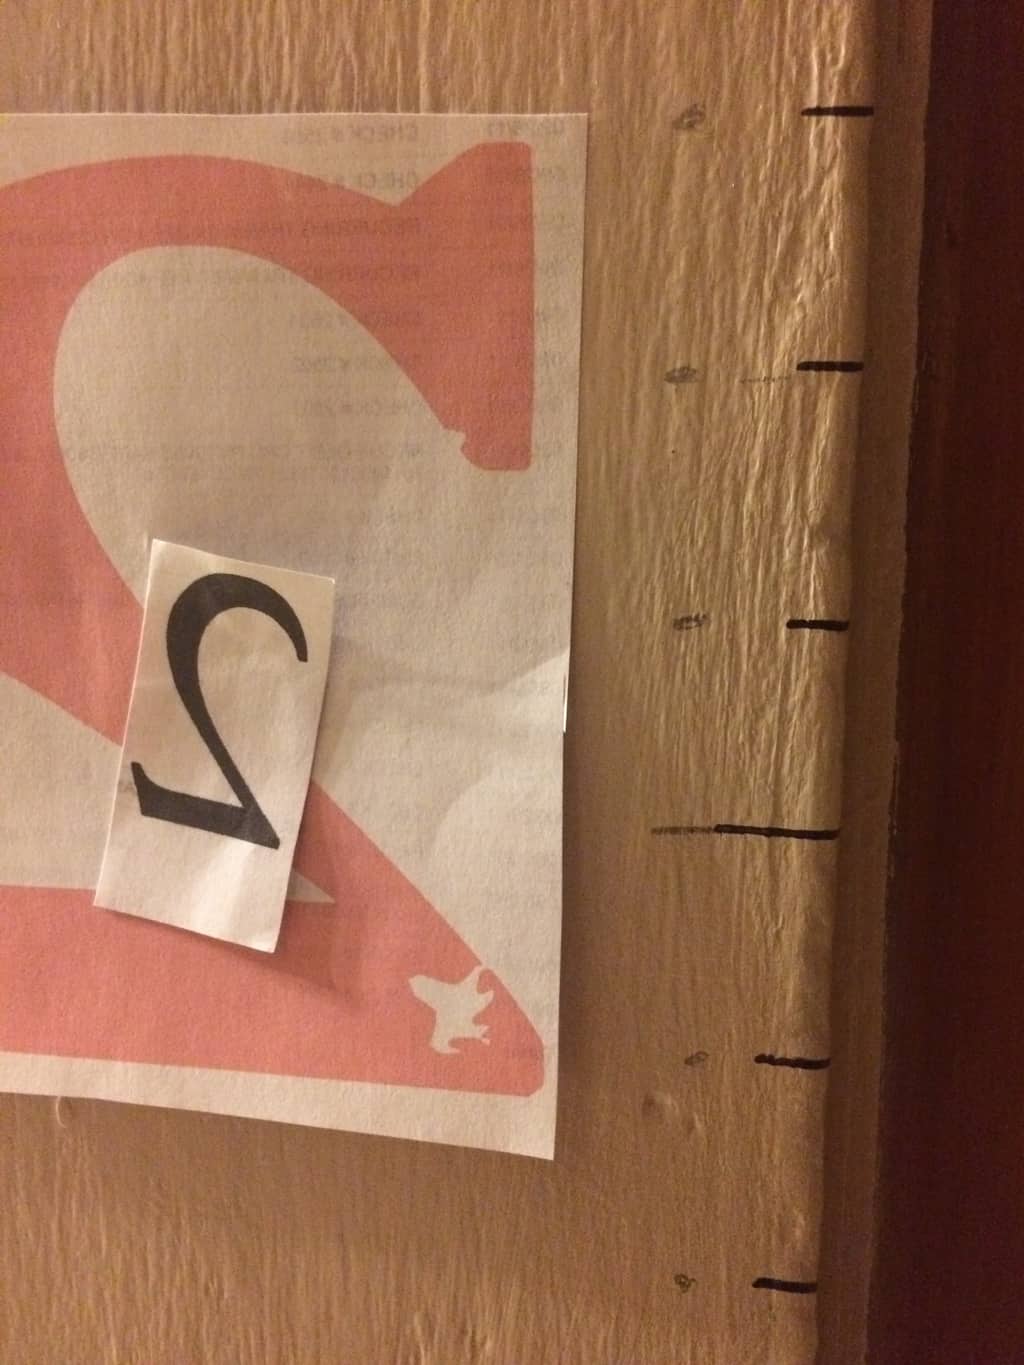
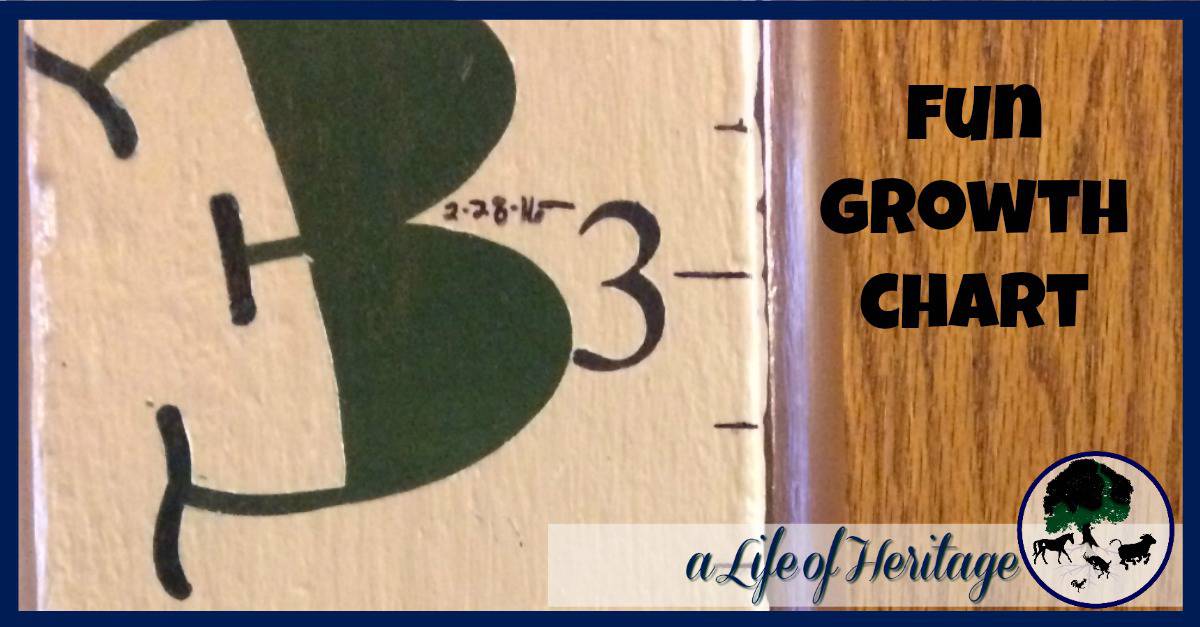
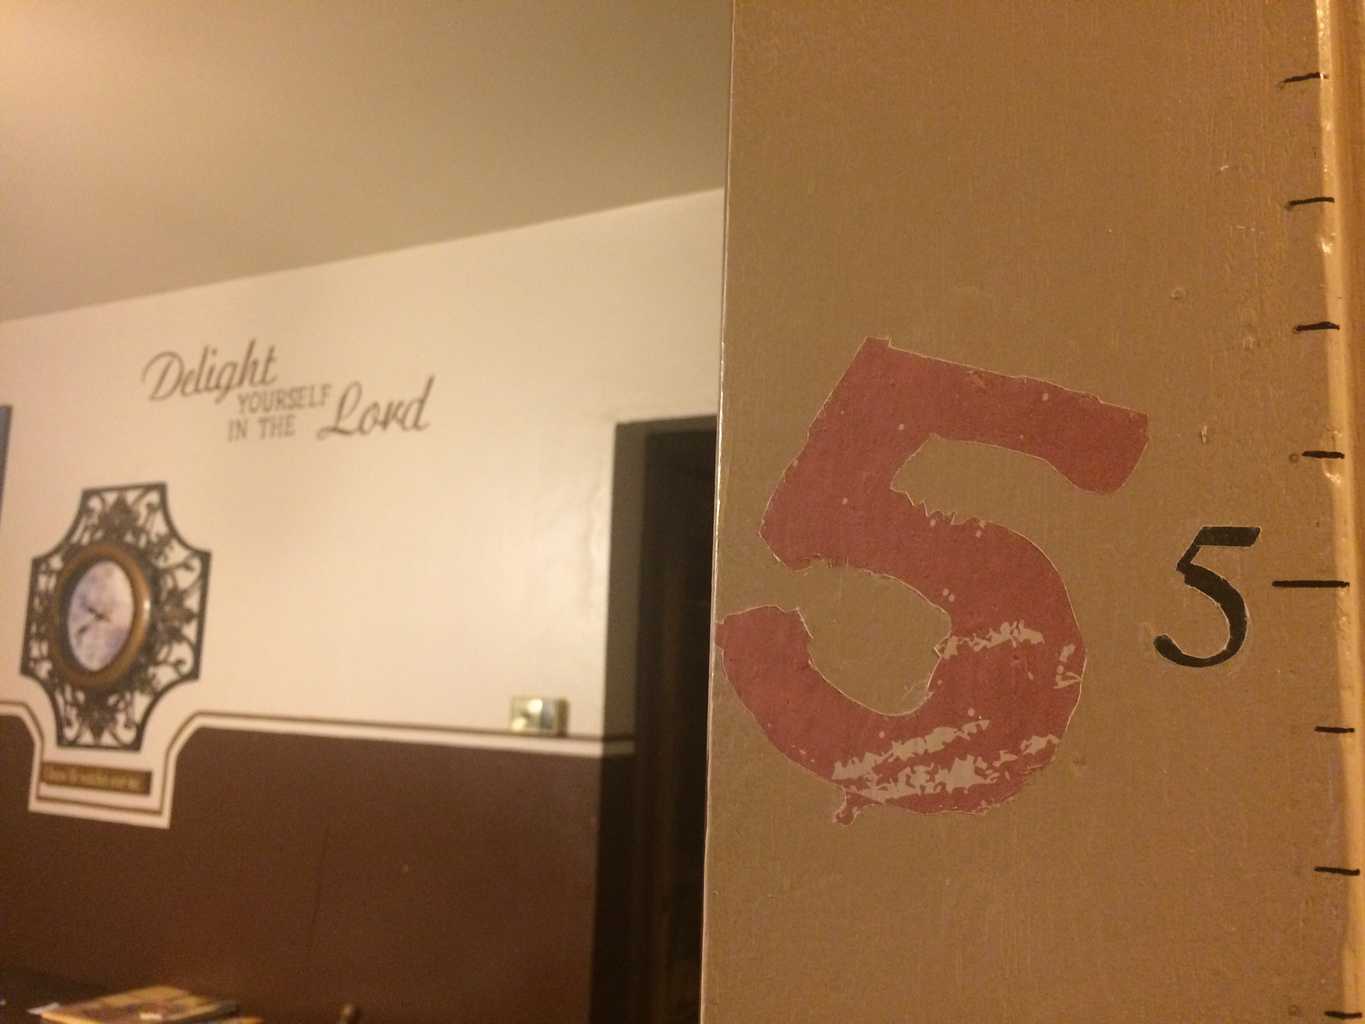
I wanted to make sure that the sizes were correct, so I cut the numbers out and then taped them up to see if I liked them. I also marked out with pencil every inch on the door frame and then made a permanent mark with black marker, making the marks at each foot a little bit longer. I then erased the pencil marks.
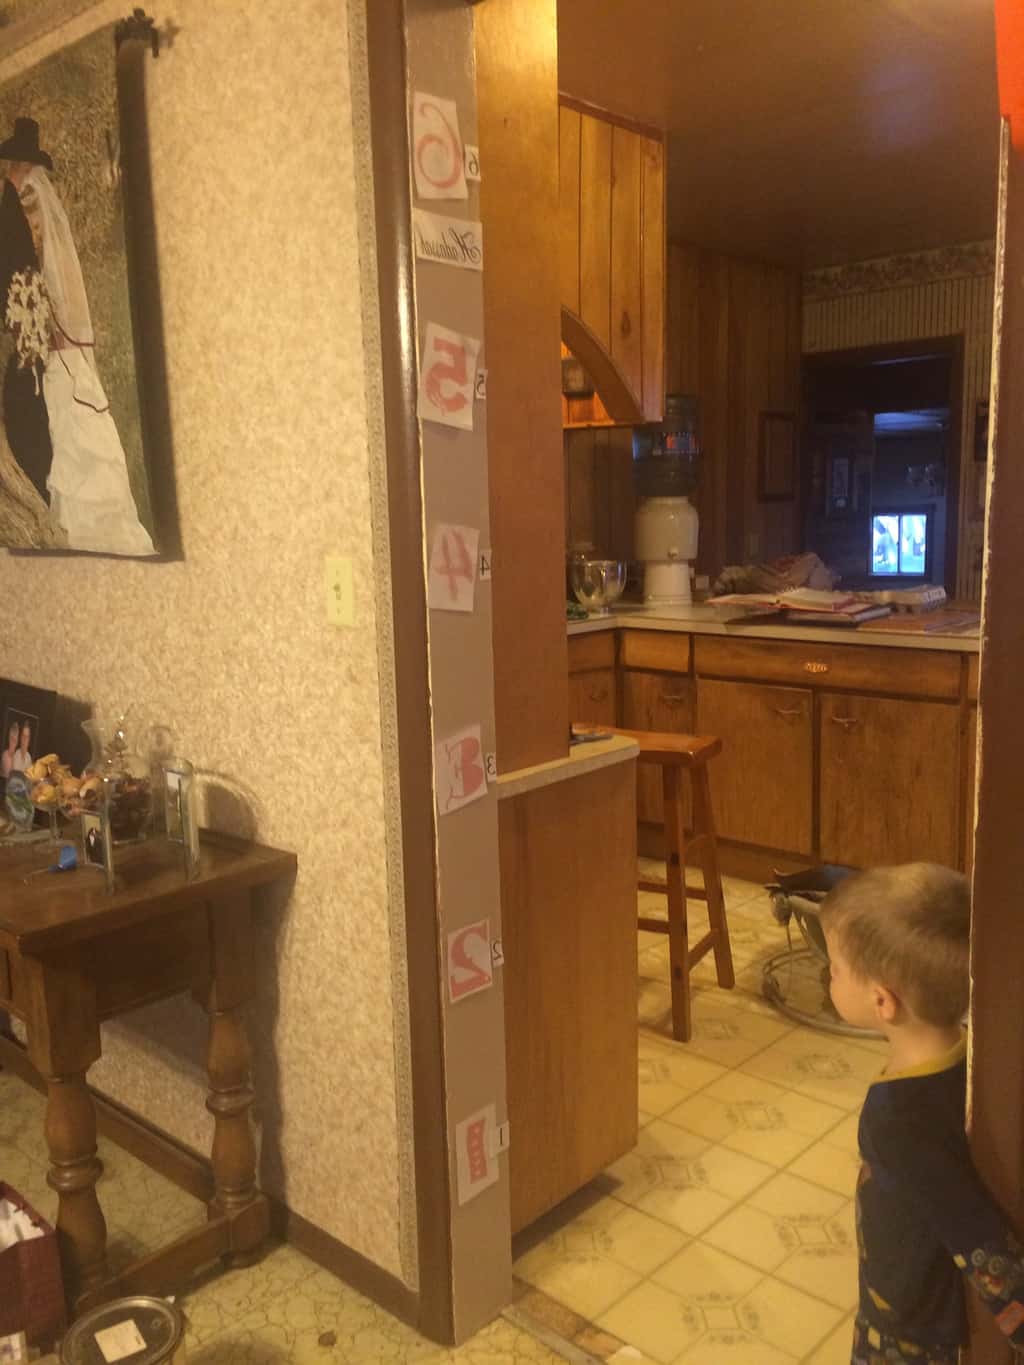
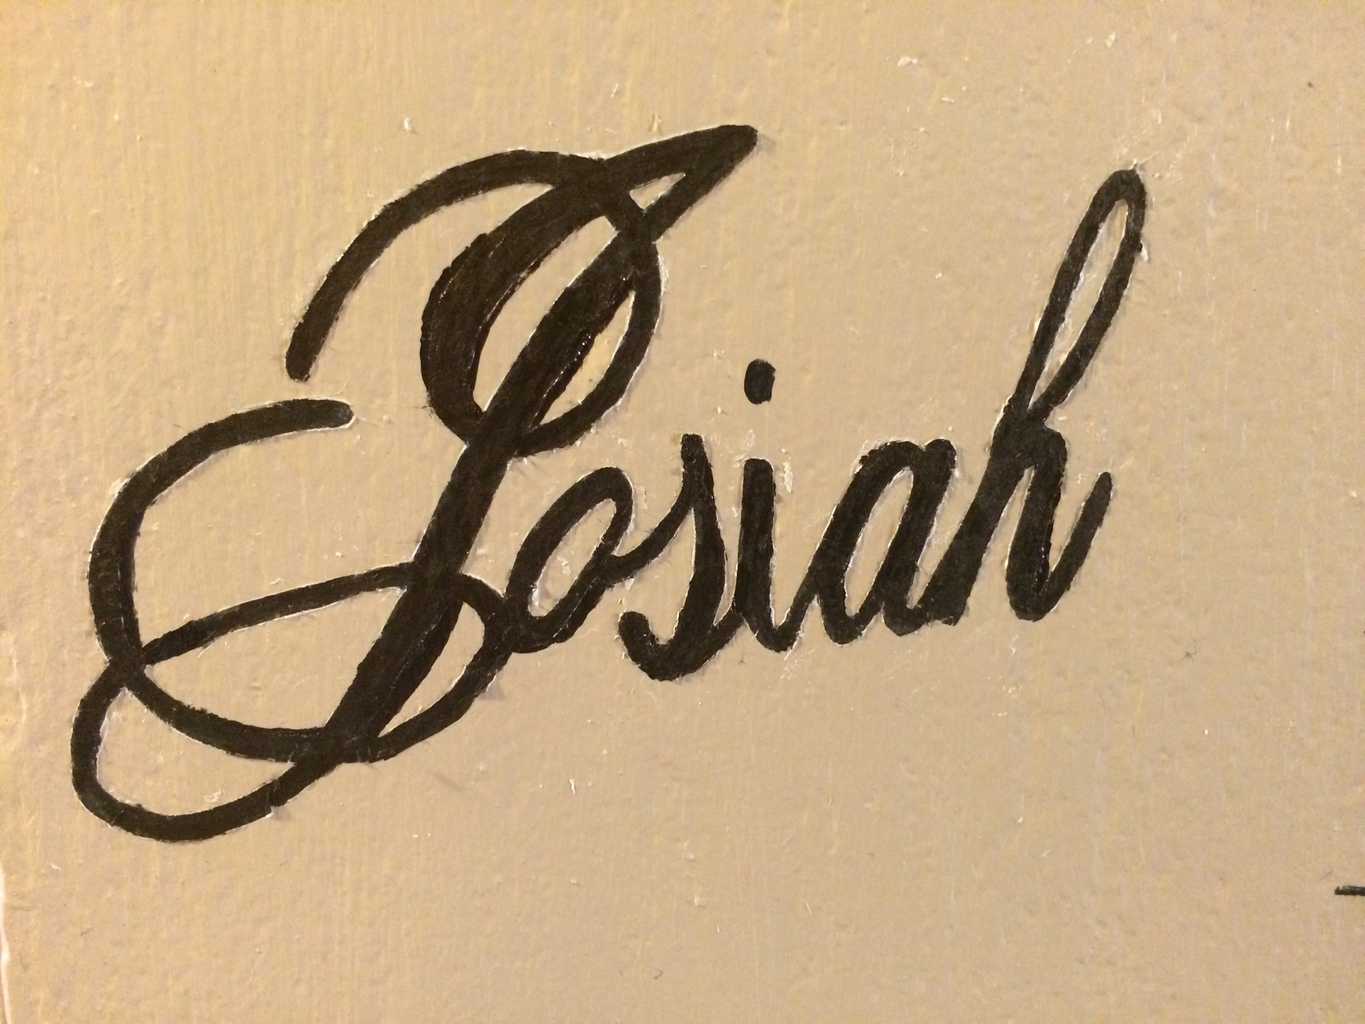
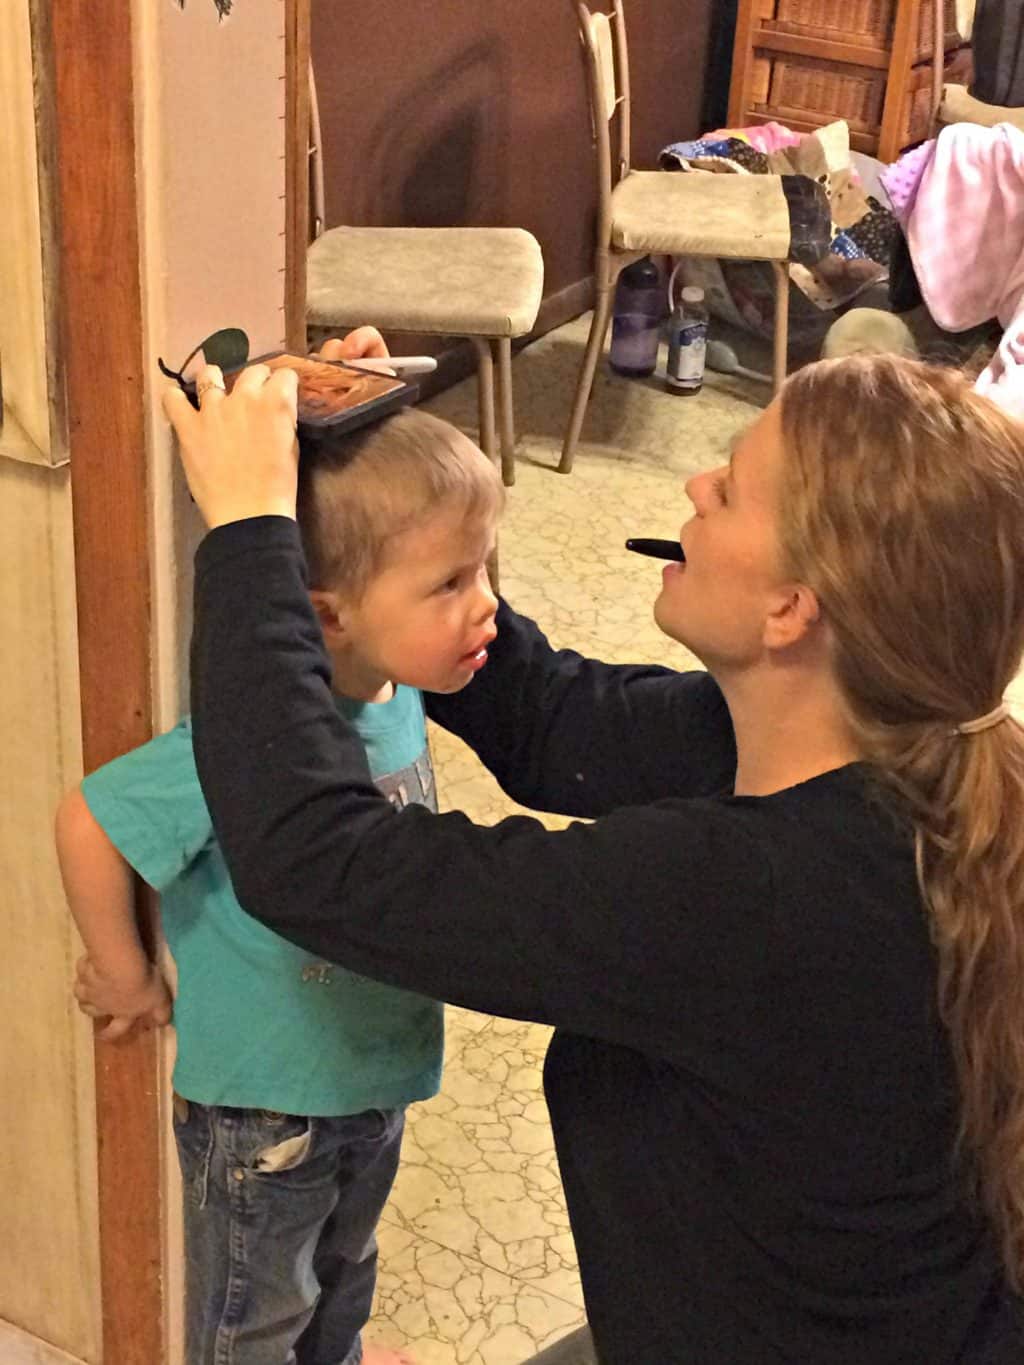
I taped them all up to see how I would like it and to see if I had gotten the sizes correct. Josiah tested it out to make sure they would work. Good quality control is essential with this project.
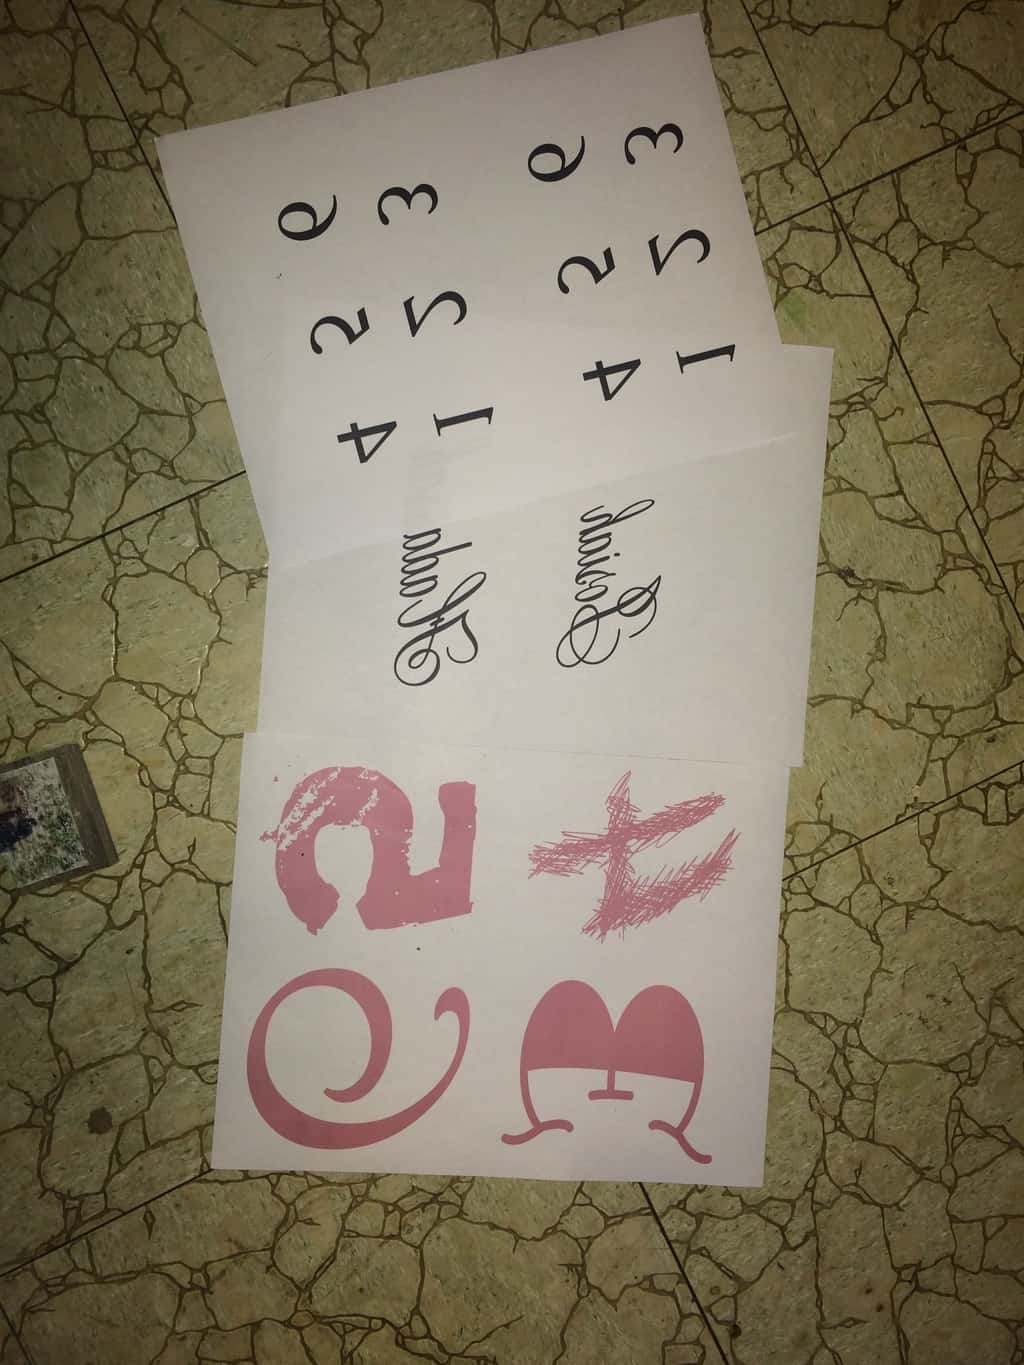
The next step is to print your project on regular, white paper using a laser printer. Cut out each number, getting as much white cut off the edges as possible.
And then goop it up with “Mod Podge Photo Transfer, Medium” and place it carefully where you would like the numbers to end up. The paper is very “wiggly” and stretches out and flops around, so be careful at this point so it doesn’t rip or stick to itself…or you! Also, make sure you get it facing the correct way. Somehow on the green number three, I placed it backwards and had to scrape it off and redo it.
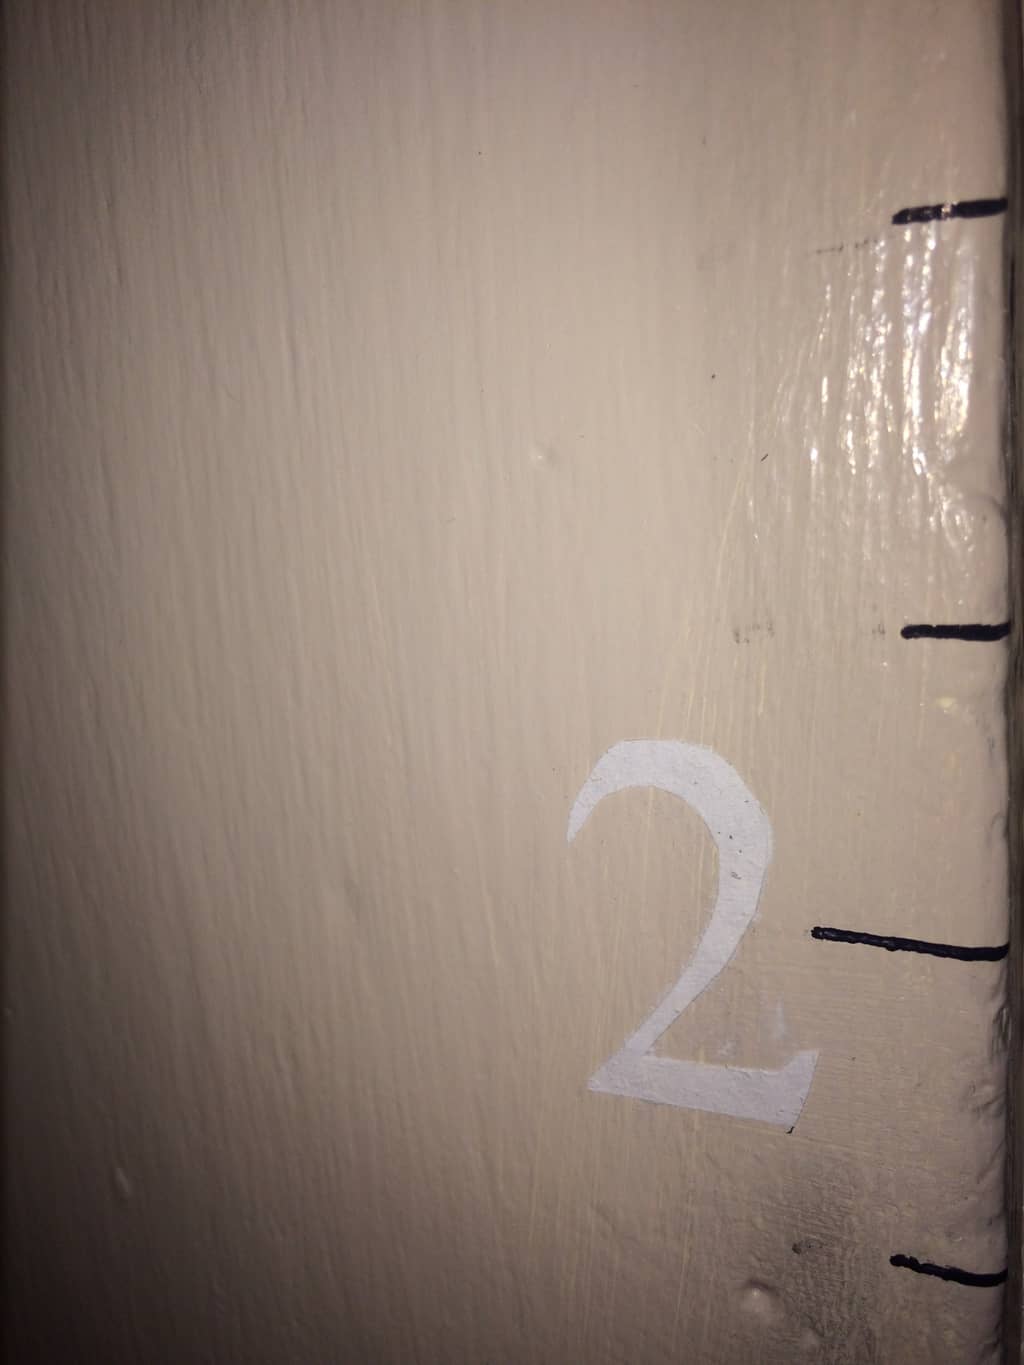
Then be patient. For 24 hours. Forever. After the time has passed slowly, carefully wet the paper with a rag and carefully, CAREFULLY, rub off the paper until the color is revealed underneath. Keep wetting the paper and carefully rubbing. Did I mention carefully? That’s important.
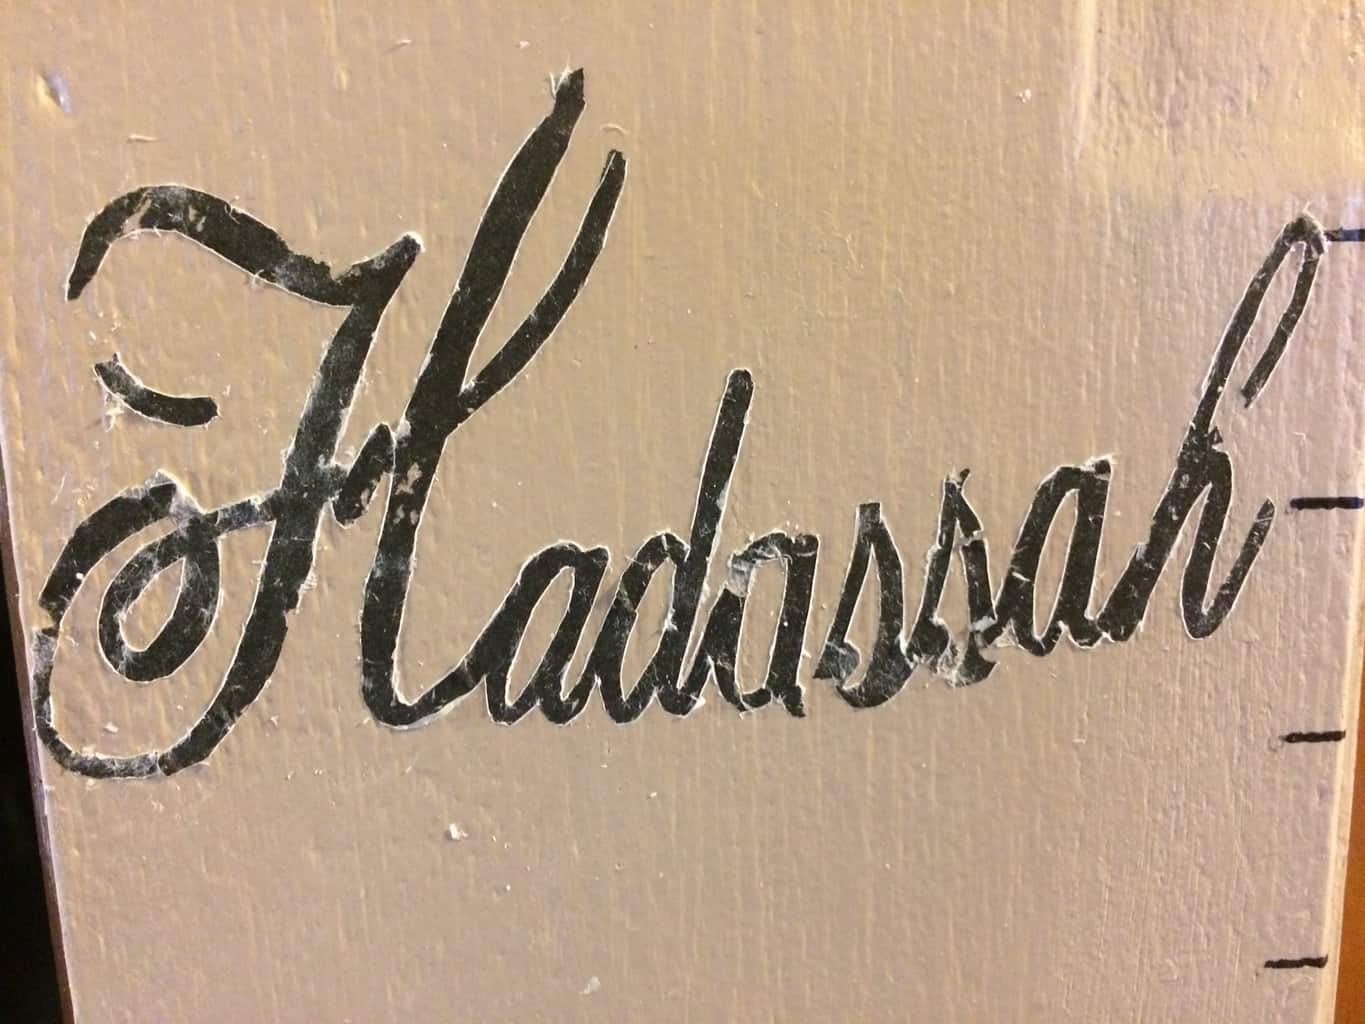
On the names, as I was putting on the Photo Transfer goop, it was very tedious because it was so wet and floppy and was pretty hard to get each letter in its proper place. And as you can see, the smaller the lines are, the easier it is to rub it off completely. I was fighting discouragement at this point but decided to not take it all off and to use a marker and fill in the missing parts.
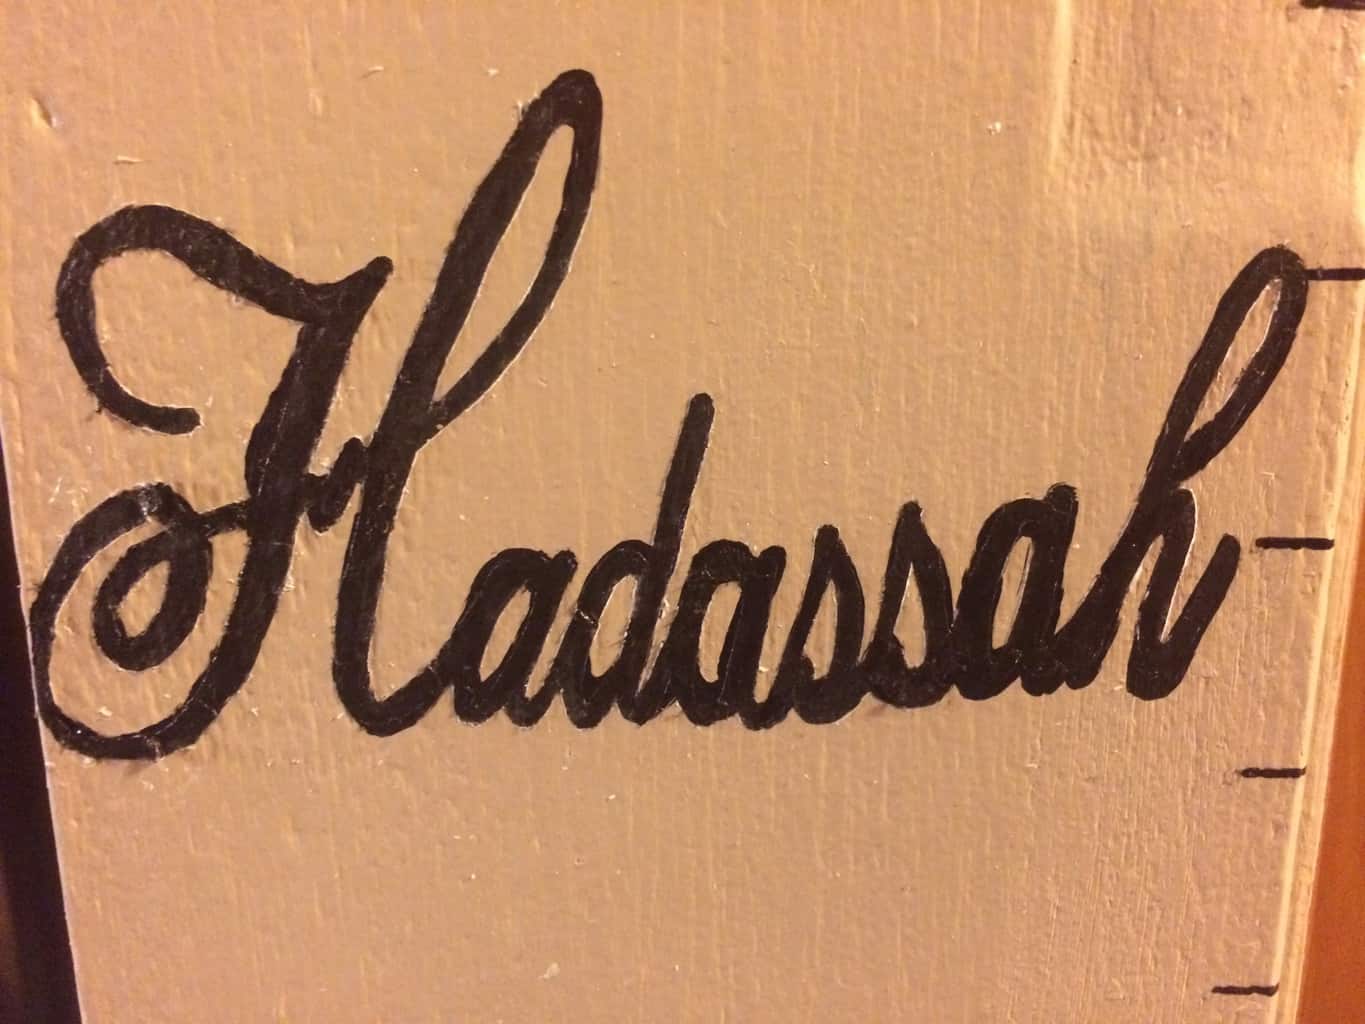
This is what it ended up looking like after I filled in the letters.
After all the paper was rubbed off and it was exactly how I wanted it, I sealed it with Mod Podge Matt Finish.


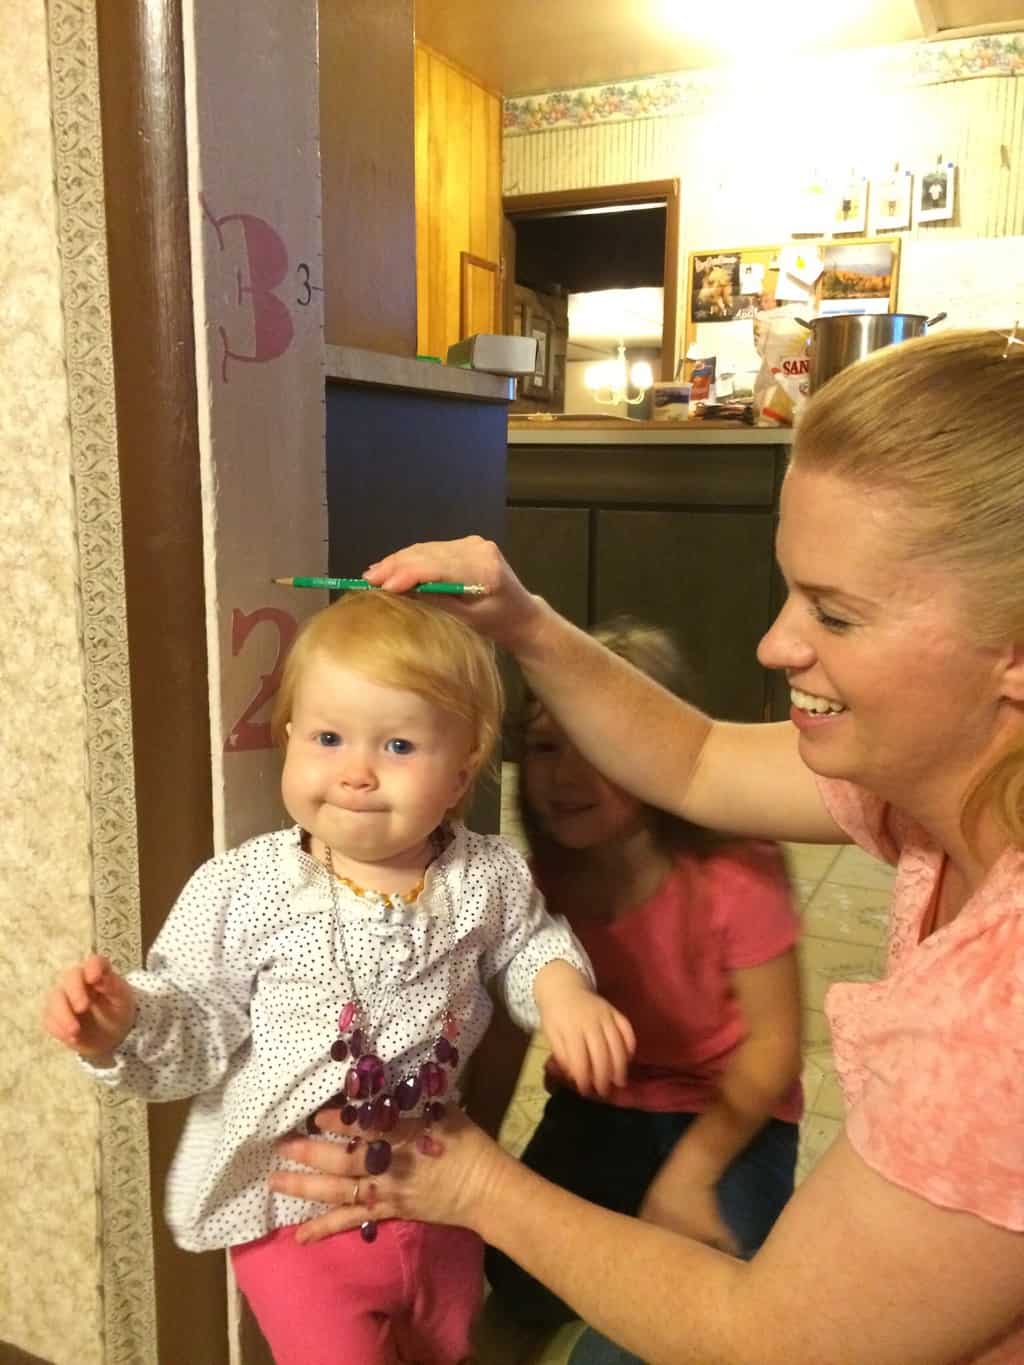
I was able to complete it before his third birthday. Time stood still for just a moment at his birthday party. Just me and my boy. He waited patiently for me to make his mark.
Did you enjoy this? Check out these other renovations on a budget: Barn Wood and Pallet Built-In Cabinet or Pallet Storage Cabinets

Seriously, our free resource page is worth looking into. It has a great selection of tips, and checklists that have helped me out greatly. This page is password protected and is updated almost weekly! How much better can it get?? 😉 Sign up below! Happy learning!
Get access to 25+ resources to help you gain confidence, save time, stay organized and restore hope. Your password protected page will be updated on an almost weekly basis and weekly emails from A Life of Heritage will keep you in the know. 🙂 We want to bless YOU with this information!
All you have to do is:
- Sign up below
- Find your confirmation email (in inbox or junk/spam folder) and confirm subscription
- The Welcome email will hold all the details and password for logging in to your resource page
- Add [email protected] to your contacts to ensure that you receive future emails and updates to our resource page

I also would love to know what would help you. What can we add to our resource page to make your life that much easier? Email me your ideas: [email protected]
If you would like a sneak peek into our resource page:
Free Resource Page for Horse Owners