
Before we begin, I wanted you to know that you can print out a FREE printable on “how to install a nucleus colony” and watch the video provided to see how I installed my nuc. There is also a lot more information on my beekeeping resources page. <<< Take some time to learn more about bees!
I installed a package of bees awhile back. You can watch my experience in this post: How to install a bee package in your hive and I’m quite certain I’ve fallen head over heels in love with my bees
…shhh, please don’t share this article with my husband. 😉
But! My husband is also fanning the flame! After the bee package, he said yes to a nuc after I got the call they were ready! So then I learned how to install a nucleus colony!
If you like this information, my YouTube channel is full of even more bee information. Please click this link: Delci | A Life of Heritage and subscribe!
That spring, I had a really strong hive that weathered the winter well, a package of bees that was going strong, and then a nuc, or Nucleus Colony that I needed to install. I was an official beekeeper!
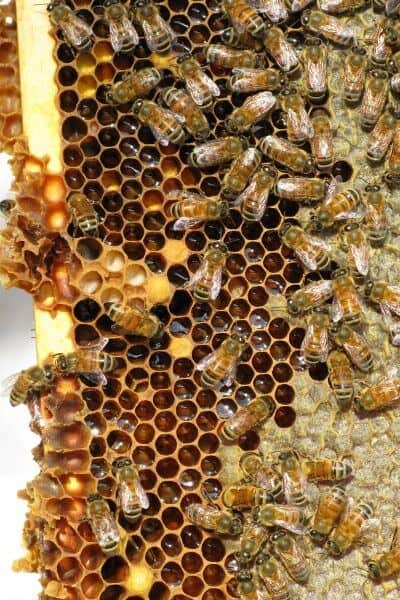
Nucleus colonies by definition are “small honey bee colonies created from larger colonies. The term refers both to the smaller size box and the colony of honeybees within it. The name is derived from the fact that a nuc hive is centered on a queen, the nucleus of the honey bee colony.”
My husband graciously drove over 2 hours to pick up the hive. Pick-up times for nucs are usually early in the morning or late in the evening. This ensures that all the bees are home before they close up the entryways. Because of circumstances and distance, my husband picked up our bees at 8 pm and was home at about 10:30 pm.
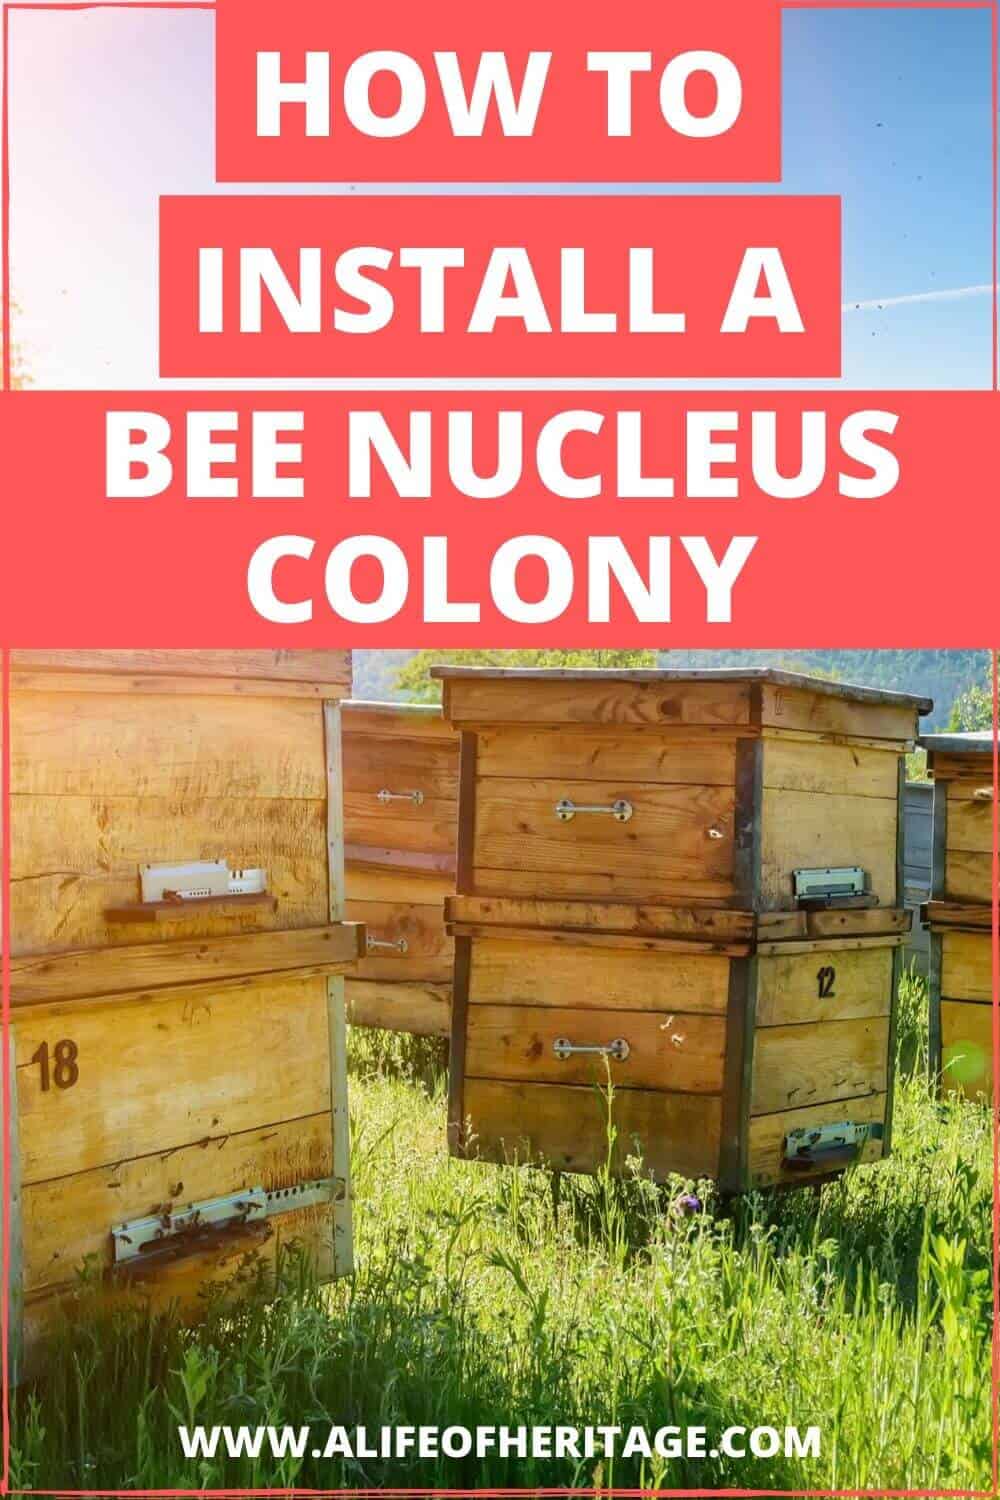
As soon as they arrived home I placed the nucleus colony exactly where I would be placing the hive box with the entryway facing the same direction the hive would end up. I then opened up the entryway so that the next morning they could get out to make their orientation flight in their new surroundings. They needed to be able to get out and scout around to find the pollen and nectar in the area.
After allowing them to orient themselves for about a day, I placed them in their hive, remembering to place the frames in exactly the same order they were in the nuc box.
Because they are a new hive, I put in a pollen patty to give them a good protein source as they were getting established. I also purchased some delicious smelling essential oil patties from the beekeepers I purchased my nuc from. And then filled a jar of sugar-water for them to give them a boost.
Use this free printable of the steps to take on how to install a nucleus colony: INSTALLING A NUCLEUS COLONY
Also, you can watch the process on how to install a nucleus colony in the video on this page.
If you like this information, my YouTube channel is full of even more bee information. Please click this link: Delci | A Life of Heritage and subscribe!
So really, it’s pretty simple to install a nucleus colony. And it’s a great way to get a hive started, especially in an area like ours where the growing season is only about 90 days. This can give them that extra boost they need to go into the winter strong and healthy.
I also added a pollen patty to my hive. Here’s how I made it: How to make (pollen patties)