
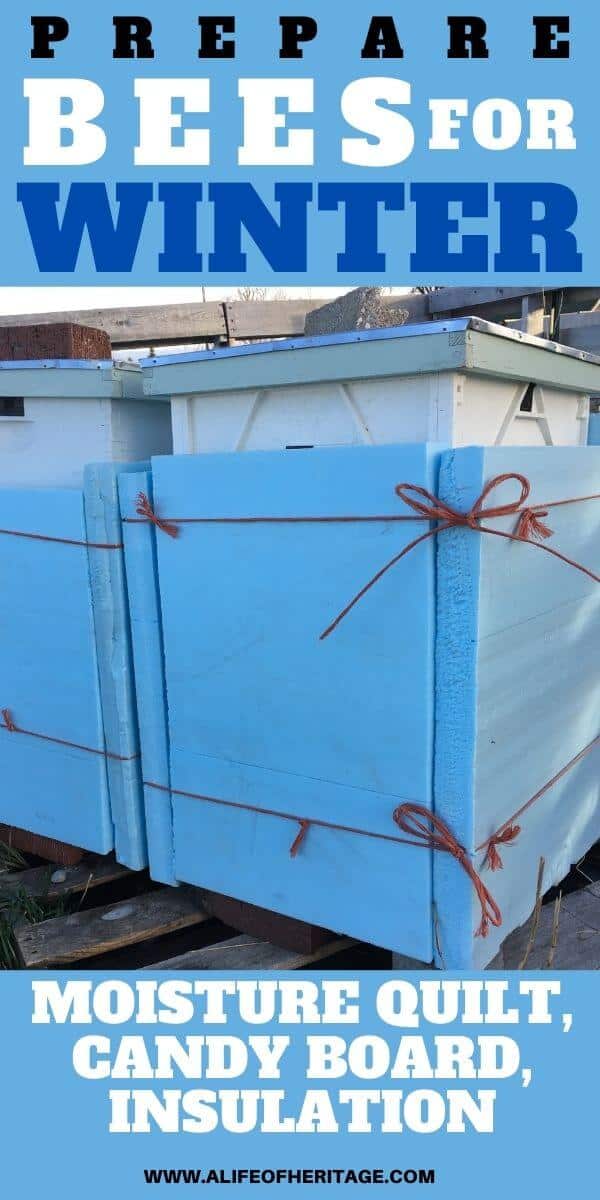
Bees in Winter: Do you have really cold, wet winters? Then consider making a candy board, moisture quilt, and wrapping your hive with insulation!
According to all known laws of aviation, there is no way a bee should be able to fly. Its wings are far too small to lift its fat little body off the ground. The bee, of course, flies anyway. Because bees don’t care what humans think is impossible.~Bee Movie
It’s troubled me that bees work so hard and live such a short life. But maybe my perspective is slightly skewed. My bees cruise over the beautiful Montana landscape and sniff flowers all day, and then go home to a huge family that works insanely well together and they.make.HONEY! For the love of honey…
Honey is so delicious and they spend their entire lives focused on honey!
Bees in Winter
Maybe, just maybe, our bees are living the grandest adventure possible, and if you leap into beekeeping as I did, you may be swept up into that adventure as well!
But up north in Central Montana, technically a zone 4 that treats my flowers and garden like a zone 3, this crazy adventure only lasts through the warm season…which is approximately 3 months. Checking the hives through the winter months doesn’t consist of anything but checking for obvious and large problems like a tipped-over hive. The spring and summer months begin, for a beekeeper, months of continuous checking, wondering…and dreams of honey.
But as the fall comes to a close, it is our jobs as beekeepers to help provide our bees with the best possible chance of making it through the cold winter months.
You can quickly get access to a 50+ resource page to help you with your bees and homesteading here: Free Resource Page
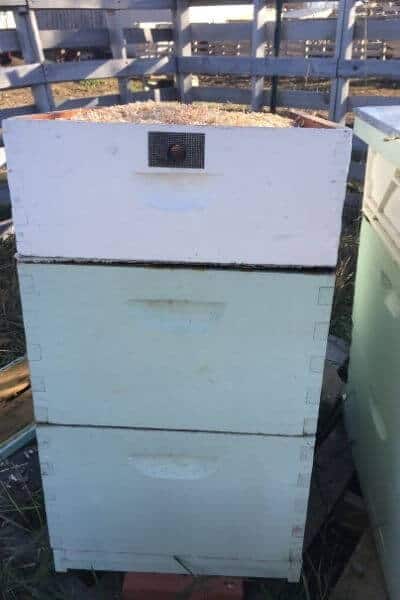
Currently, I have 3 hives. One hive was a year old this spring. And I installed a Nuc (nucleus colony) and a package of bees in the spring.
I should have had honey from my oldest hive this year, but they were battling moisture problems from the winter months and the year continued to be an abnormally wet year. I had mushrooms growing in my lawn. And darnit! I saw slugs…3 SLUGS!… in my garden for the first time ever.
Moisture in the hive is very detrimental to bees because they can battle chalkbrood. Wet and cold bees aren’t happy bees. So, I had to come up with a plan to help my bees stay warm and drier this winter.
You may also be interested: What I wish I had known before owning bees.
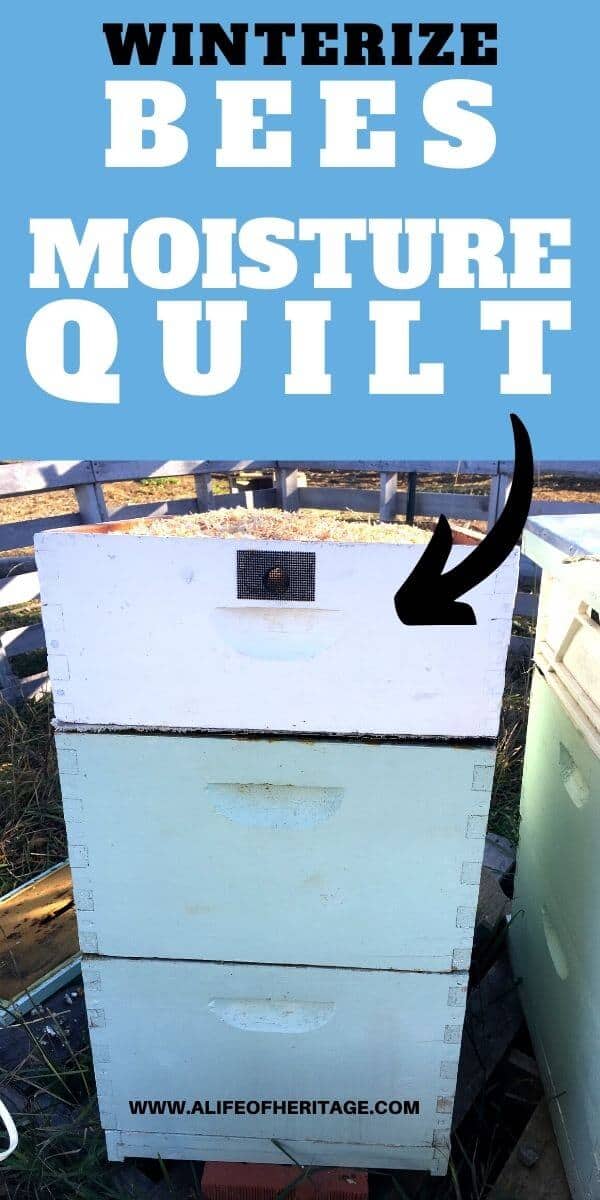
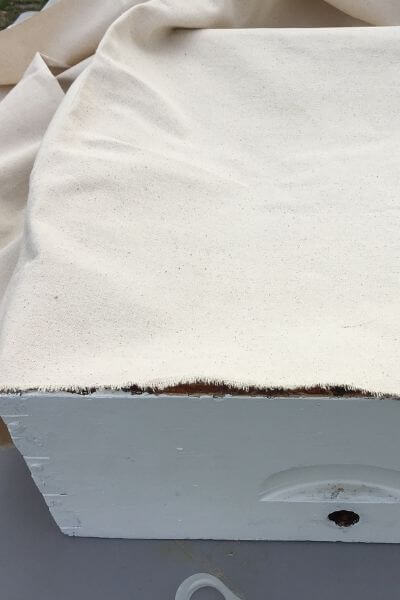
How I got my bees through winter with a candy board, moisture quilt, and insulation: For each of my hives, I made a candy board and a moisture quilt (or vent box).
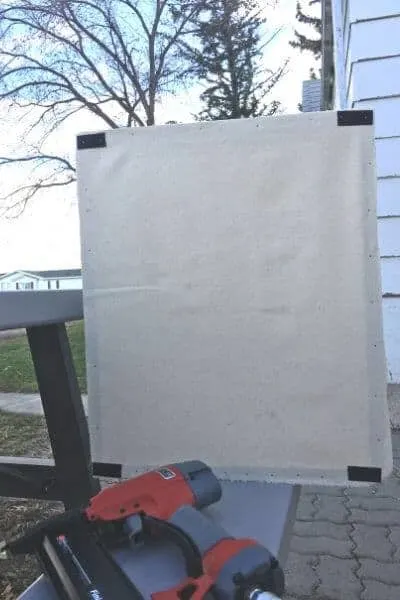
On the top of the hive under the outer cover, I built a “moisture quilt” or a “vent box”.
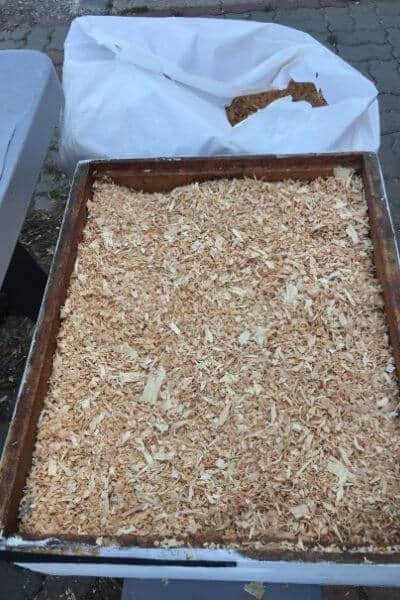
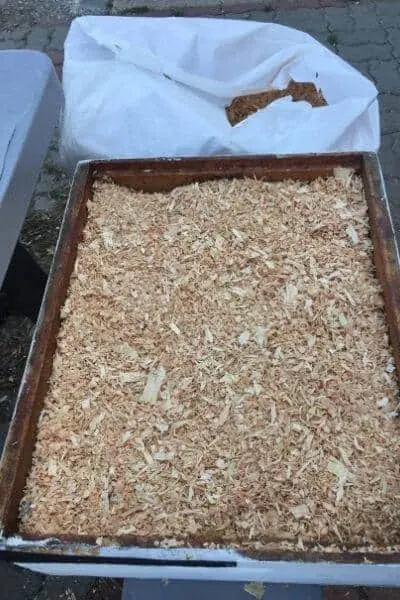
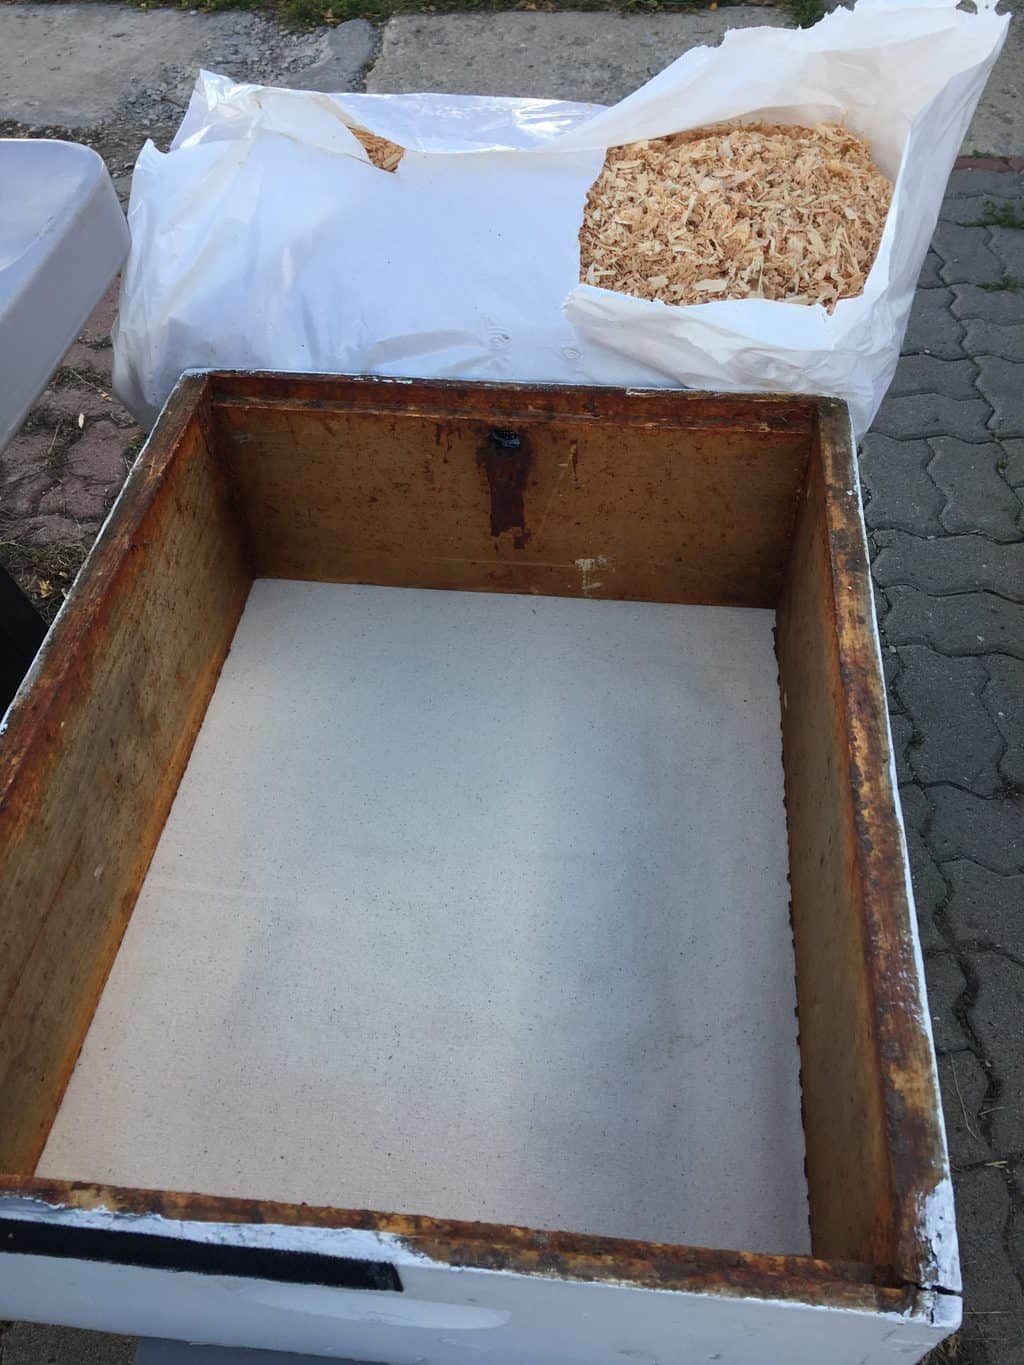
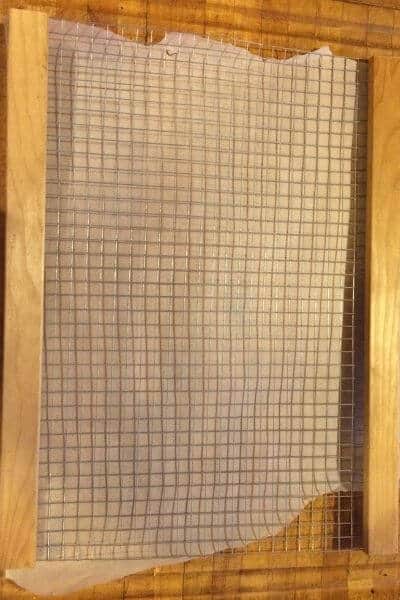
What is a moisture quilt? It is (in my case) a medium super with the bottom covered in canvas, filled with wood shavings and holes drilled in the side for ventilation.
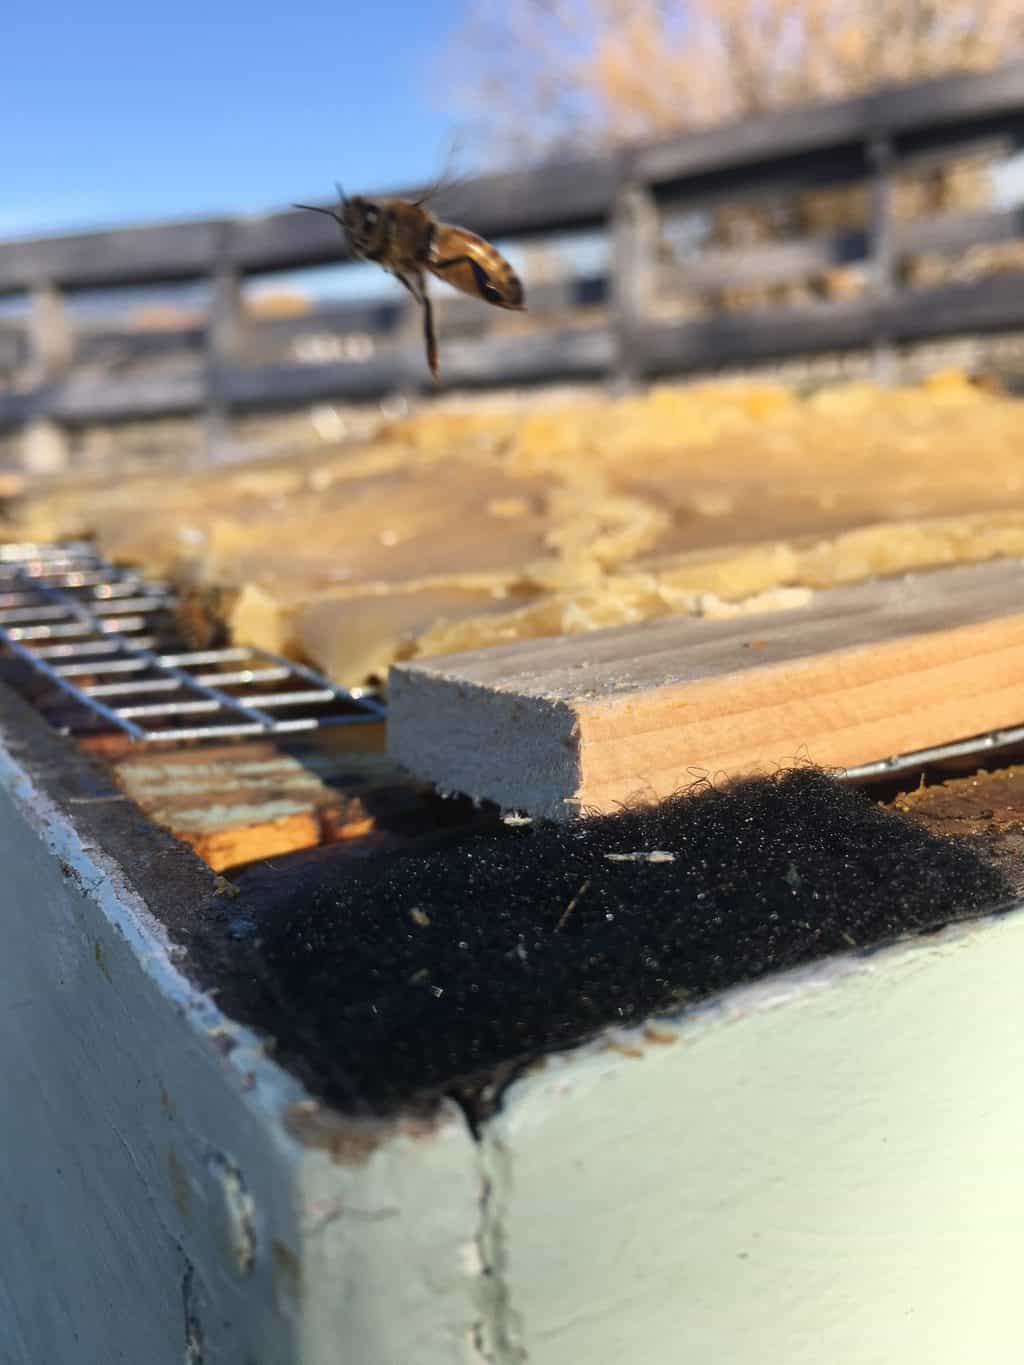
What are the benefits of a moisture quilt? It allows the moisture in the hive to rise up through the canvas, hit the top of the inner cover, and fall onto the wood shavings to be soaked up before it has any chance to bother the bees. It also provides ventilation for the hive while providing a layer of insulation to protect against the cold winter weather.
You can download the instructions for the Moisture Quilt and Candy board, and many other tools for bee care and maintenance here:
These are the steps I took to make the moisture quilt:
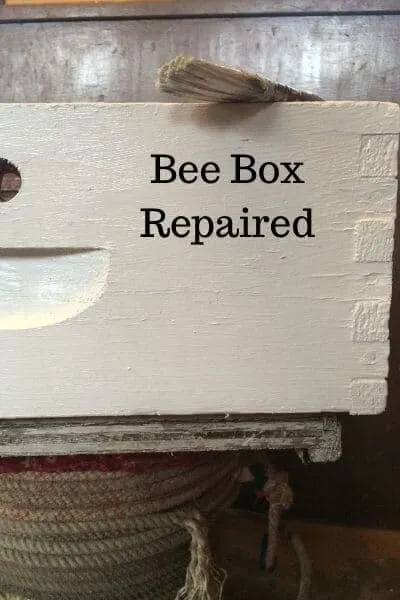
- Paint and do any maintenance on the honey super if necessary
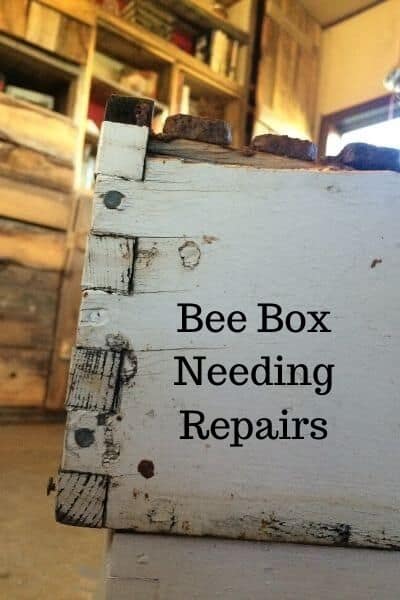
 Bee supers are easy to repair!
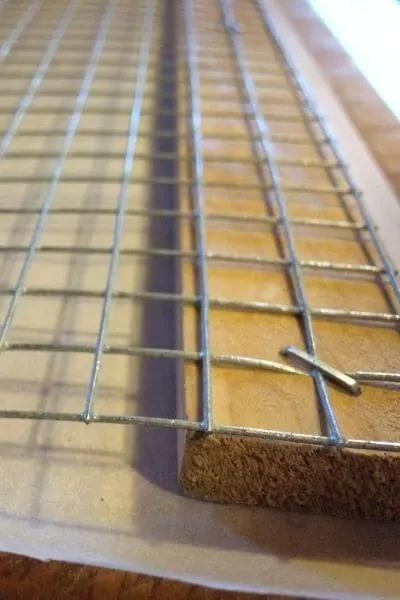
- Drill a 1/2″ hole on the ends of the super.
- Cut a piece of “Shop Screen 80 Grit”. Any wire that has holes small enough that bees, bugs, and mice can’t get through would work.
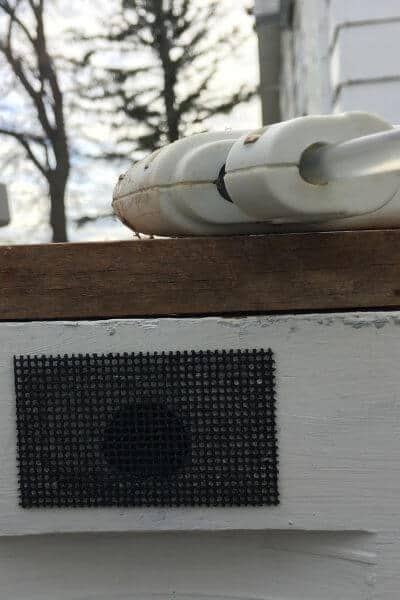

- Hot glue the screen piece over the hole.
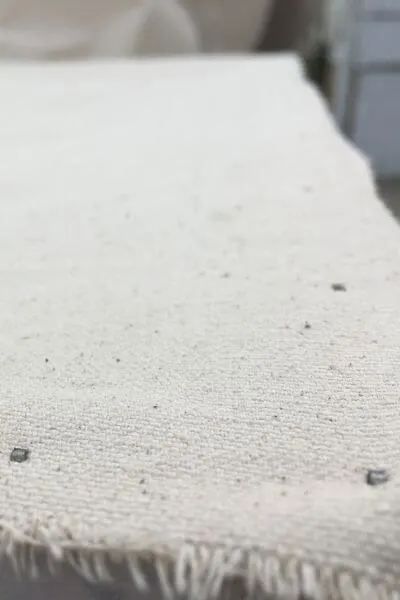
- Then cut the canvas to size and nail it to the bottom of the super.
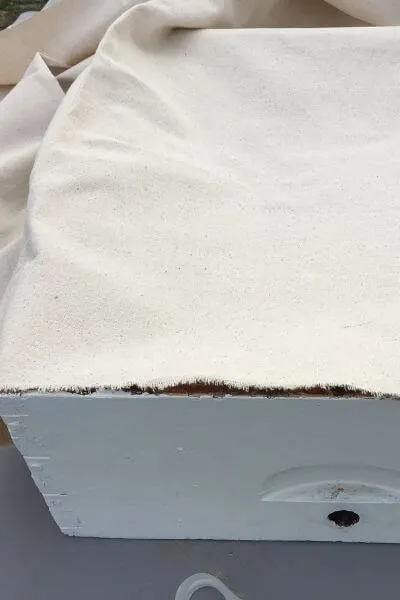 The canvas easily nails onto the bottom of the box.
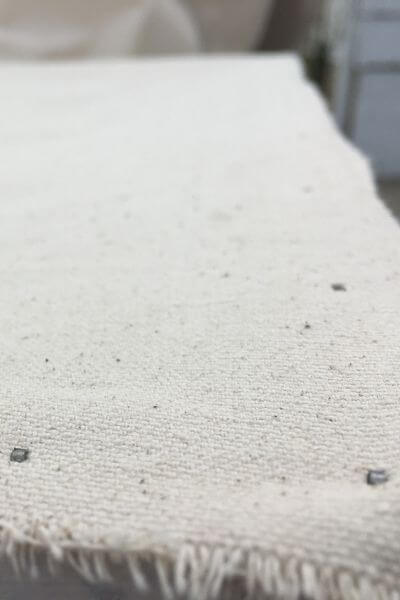
- If it seems necessary, nail Velcro pieces to the bottom of the box. (Nail the other half to the top deep box where the bees are.) This will prevent the lighter box from blowing off. (I found that in my case, the boxes slipped off too easily, and we have gale-force wind.)

- Double-check that it does fit over the candy board. (On one hive I had to loosen the canvas a bit because the boards of one candy board frame were thicker than the other ones I used.)
- Fill the box with wood shavings.

 Fill the box!
- Place the candy board on top of the deep super.

***See the notes below on where I will place my candy board next year.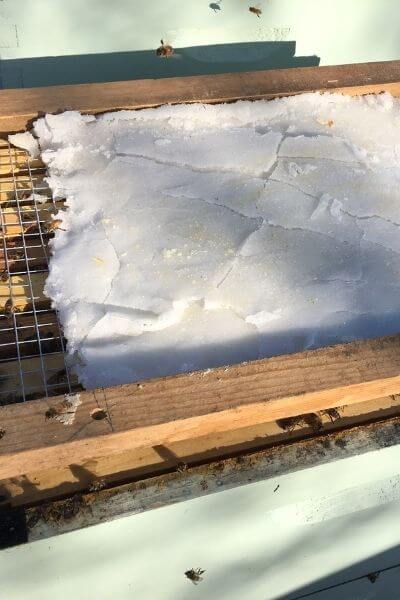

- Place the moisture quilt over the candy board.

- Put the inner cover on over the moisture quilt.
- And put the lid back on!


- Put a weight of bricks on top to keep the lid from blowing off.
The moisture quilt was quite easy to build, especially with my new nail gun 🙂
Let’s also take a moment to look at how a candy board is made. It’s quite simple. But first…
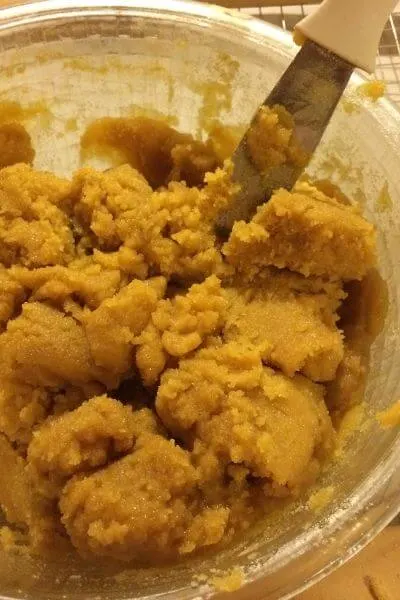
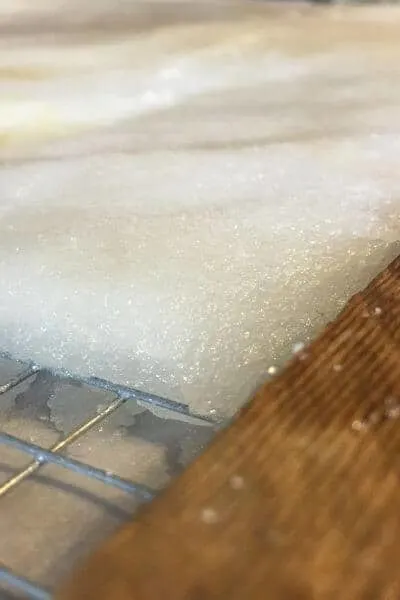
What is a candy board? 4 lbs of sugar mixed with about 1 cup of water. The water makes it just moist enough to stick together and spread onto a frame built to put into the hive. Depending on how big you build your frame will determine how much sugar you put into the hive.
What are the benefits of a candy board?
- It is a food source through the winter and spring if they run short of honey.
- Because the sugar dries hard, it will help wick up the excess moisture in the hive.
I believe that two of my hives have enough honey to make it through the winter, so I mixed up 4 pounds of sugar for their candy boards. My main goal with these candy boards is to help soak up the excess moisture through the winter months.
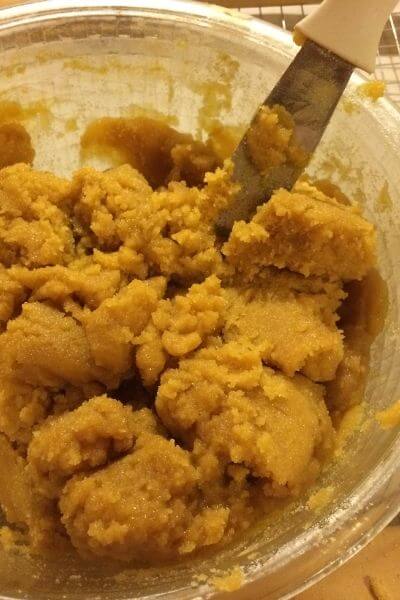
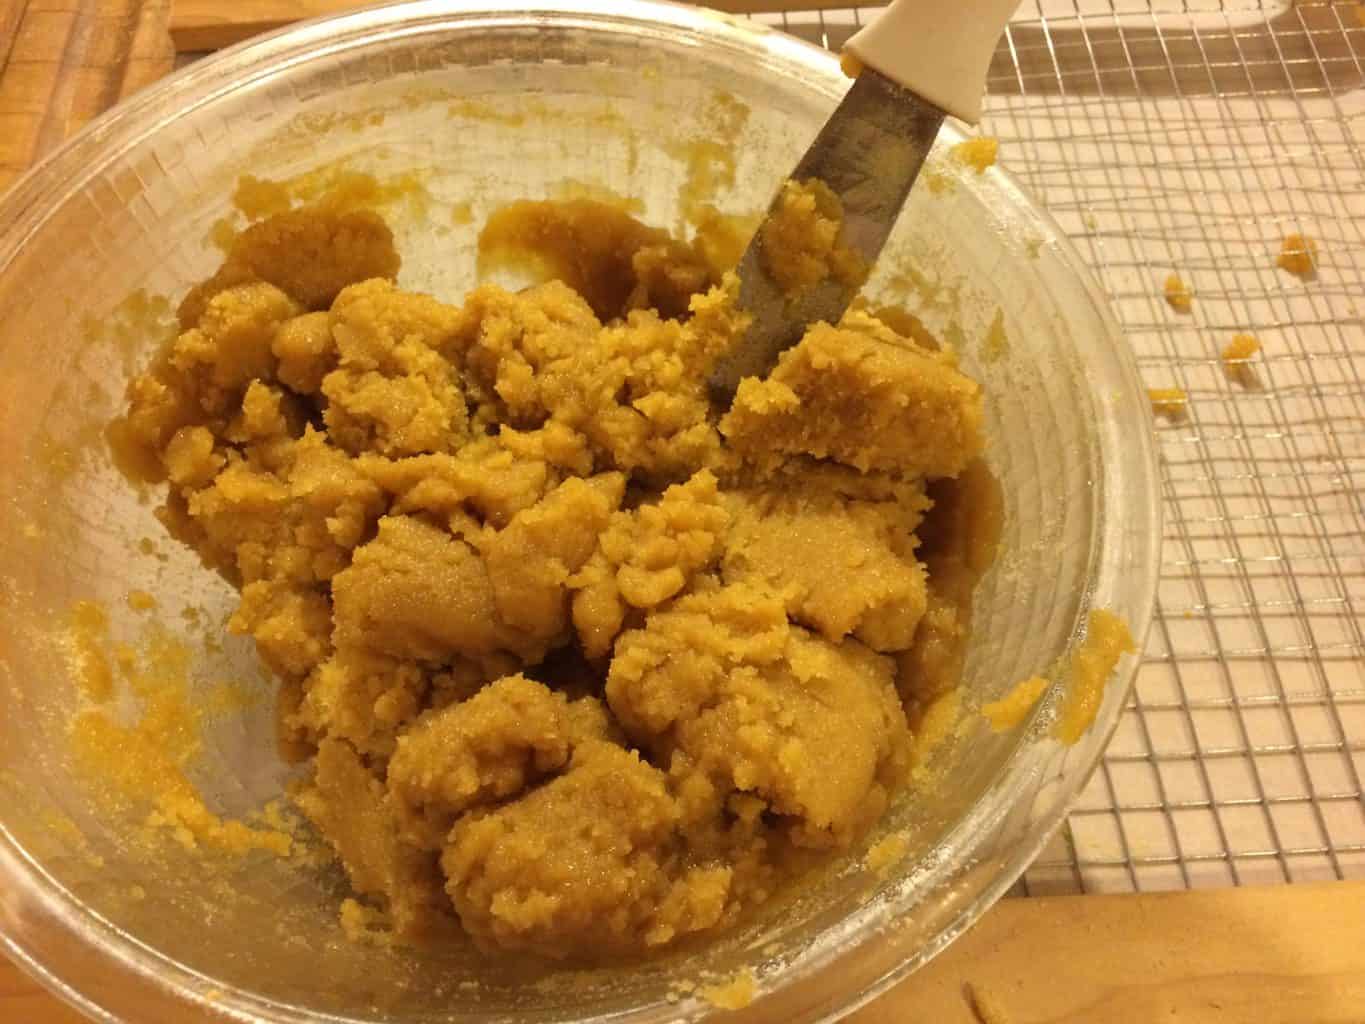
My third hive is an anomaly and quite honestly I have no idea what is going on with them. They didn’t move up into the second deep (it may have swarmed?), and most of the people I’ve talked to say it probably won’t make it through the winter without stores of honey in the second deep and with such a low number of bees. So for this hive, I mixed up about 10 pounds of sugar and a 1/2 cup of BeePro. What could it hurt?
BeePro gives the bees “the best nutrients available for the production of larval food”. You wouldn’t want to give this to a hive going into the winter with a sufficient amount of bees because it could encourage them to go into the larval-making mode, which you wouldn’t want.
But for my struggling hive of bees, I thought, “Why not?” They actually do need more bees to make it through the winter. And in the spring, if they hang on that long, it will give them a boost.
(In the pictures provided you can see the difference in color. The darker candy board has the BeePro added and the white candy board is just the white sugar.)
Another anomaly is that we are having an insanely warm fall! It is almost the middle of November and we are having 70-degree weather! I saw bees going into the hives with pollen when I checked a couple of days ago. Provided we don’t have an exceptionally long winter, this warm weather now will help them in the spring!
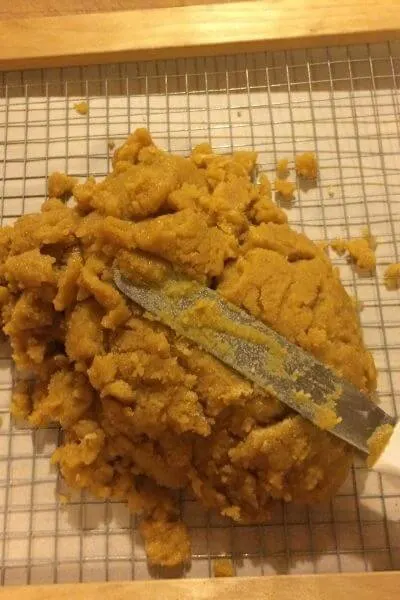
These are the steps I took to make the candy board:
- Measure two boards, cutting them small enough to fit onto the top of a deep body and for a medium super to be able to fit over them. ***See notes below about where I will place my candy board next year. I will have to configure what size of boards to use to place the candy board between the two hive bodies.

- Measure the wire to fit to the edges of the deep super.
- Use a staple gun to fix the wire to the boards.

- Lay down parchment paper under the wire
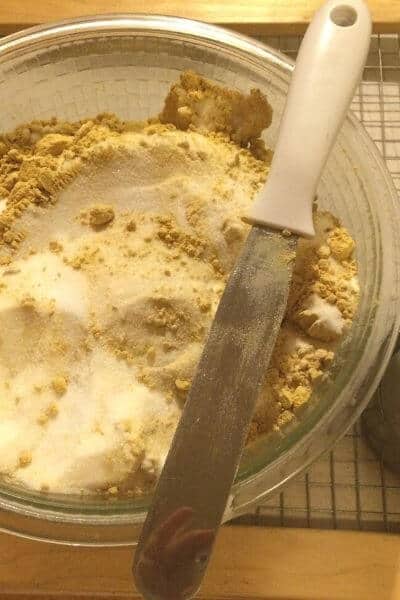

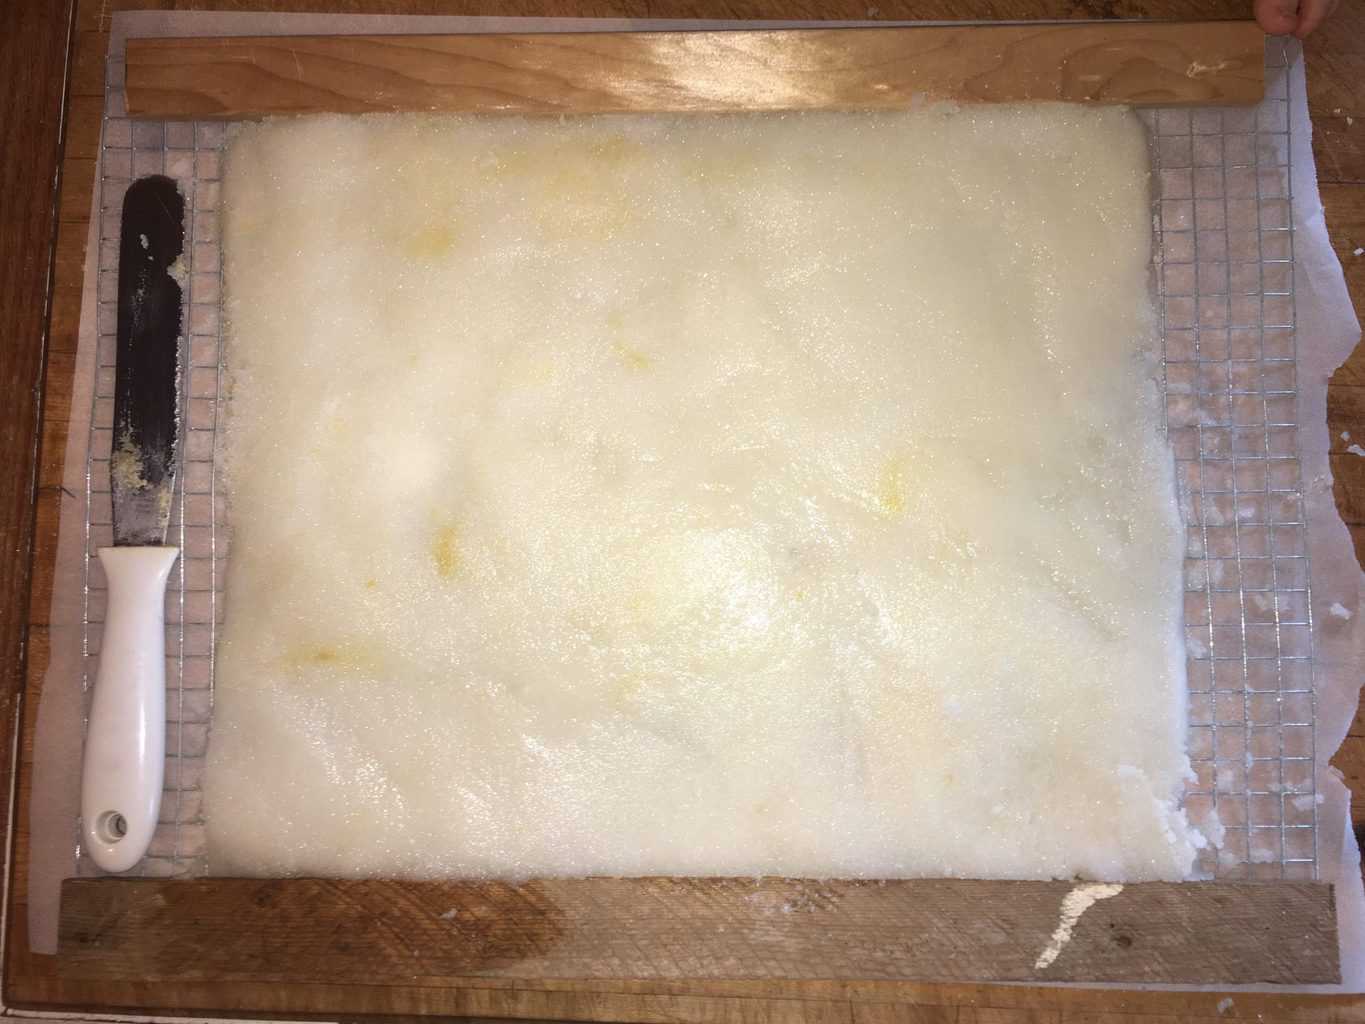
- Mix up the sugar and water and spread out flat on the wire
 Candy boarding ingredients on wire
- Let dry overnight
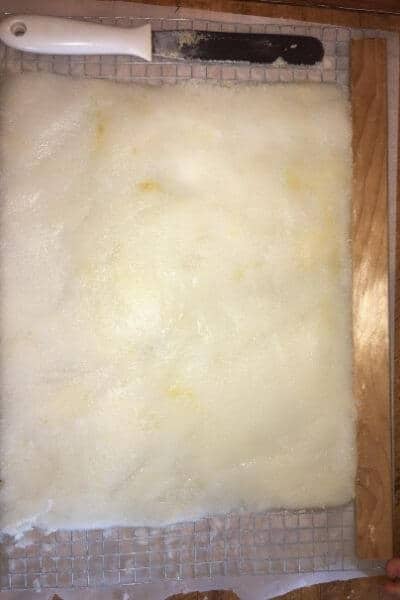
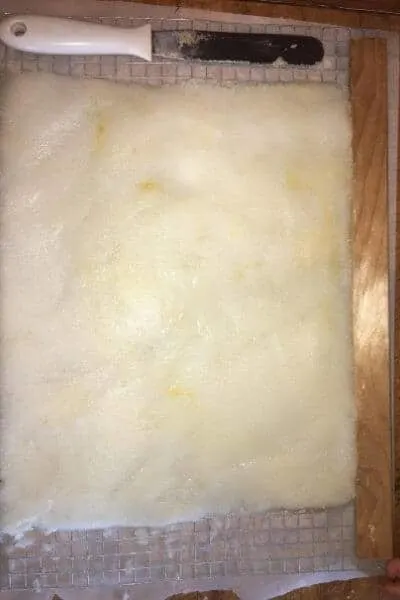
- *Note (I was worried that the sugar wouldn’t attach well to the wire and would fall off when I removed the parchment paper. But I transported it out to the bees with the parchment paper and then peeled that back and laid it on the frames and it worked great! Only a few edge crumbles fell off into the hive.)

***The quest for learning more about bees never ends. I recently read that bees have a tendency to move down in a hive. In some cases, if the candy board is at the top, they never make it back up and starve even with food available. So, when I make a candy board for my bees next year, I will have my strong and helpful husband (he didn’t know what he was getting into when he said yes to getting me bees<–What he wished he knew) help me put the candy board between the two hive bodies.
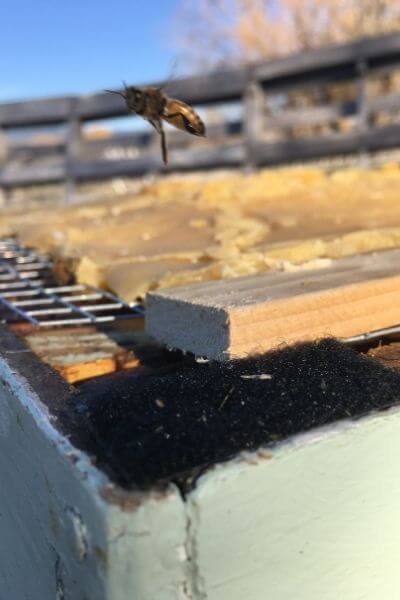
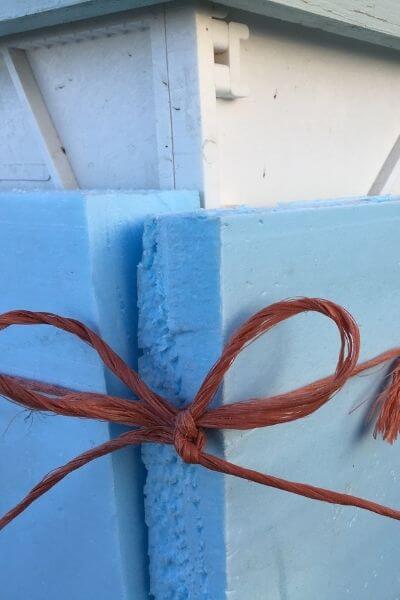
I also wrapped my hives with insulation. 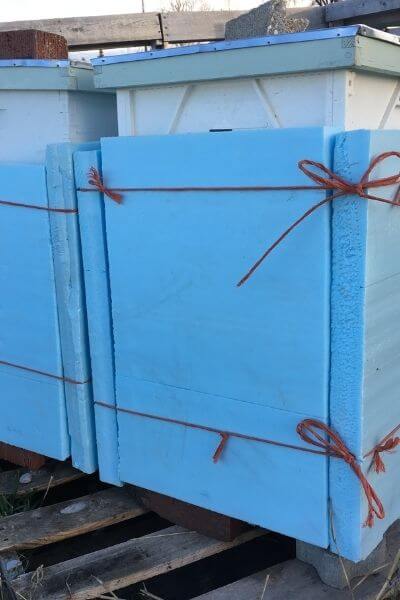
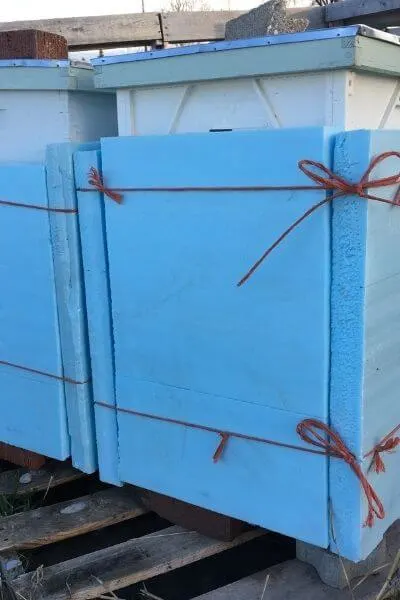
Through the coldest months, this will give added warmth. The biggest aspect to remember when wrapping a hive is to make sure there is adequate ventilation, and big enough holes for the bees to be able to make their cleansing flight to poop on the warmer winter days. They also will clean out any dead bees in the hive and will need a hole large enough for this as well.
I left my hives tilted with bricks under the back end so that the moisture will hit the top and drip down the sides and out. We usually get a pretty good blanket of snow around here and the cover of snow will help insulate under and around the bottom of the hive.
So, I’ve done three things this fall to prepare my hives for winter, in hopes that next spring they will be rearing to go out and make us some honey!
- Candy board
- Moisture Quilt
- Wrapped with insulation
And you know? I’m quite an avid bee fan. Impossible some say? I’m quite certain that even without large wings and with a large, fat body bee fly. Fly my bees! Fly!
Also, take a moment to look through 6 Tips for Winterizing a Beehive and download and print out FREE and helpful printables to help you in your bee journey, including a printout of the steps for making a candy board and moisture quilt.
Allyn Sweet
Monday 10th of April 2023
Great info. I’ve had a difficult time getting My Bees through The Michigan winters. Thank you!
Delci Plouffe
Wednesday 29th of November 2023
Winters, along with everything else that bees have to deal with make it hard to keep bee hives going!
Lazy K
Friday 31st of December 2021
Well? Did they make it through the winter or not? I can't find a follow up on your blog
Delci Plouffe
Friday 18th of March 2022
Since then, I've had some make it through and some not. It depends on the year (drought) and the winters (super cold) etc
Dawn Martin
Monday 29th of November 2021
Thank you I needed t know how to place candy board
Delci Plouffe
Friday 18th of March 2022
excellent!
Vicki
Friday 2nd of October 2020
When do you put candy board instead of fattening bee food 2/1 sugar/water mix then moisture quilt on the hive? I’m in Ohio
Delci Plouffe
Thursday 19th of November 2020
I put mine on the last time I check them before the winter. It's usually around Halloween but also just depends on the weather patterns for the year.
Jennifer
Sunday 26th of July 2020
Thank you for sharing your knowledge.